Homebrewing With Brew North

Photo by Abhishek Dekate.
I remember my first experience with homebrewed beer.
It was during my university years, naturally. The concoction bore an insipid, pale yellow hue - the bare minimum needed to differentiate it from water. When nosed from the glass: the pungent aroma of wet bread. The taste? An acrid sweetness haunted by a lingering bitter aftertaste well after the glass was empty. Yet, to give credit due, it got the job done, and at a fraction of the price commanded in stores.
My adventure homebrewing, nearly a decade later, couldn’t have been farther from that first experience. There are more factors at play here than my older and wiser self. The beer landscape as we know it has changed rapidly over the years, in large part driven by dedicated homebrewers turning their passion for the craft into a profession. Rows of mass-produced lagers have quickly been replaced by IPAs, bocks, heffeweissen, Belgian quadruples, and stouts (just to name a few); all unique and brewed locally.
What inspired so many hobbyists to sip on their latest beer and think “I should quit my job and do this full time”? For too long my love for beer has been limited to the enjoyment of it - normally in large quantities. I set out to fix that.
Brew North
Photo by Nicholas Wong.
Brew North has been serving Toronto’s east-side homebrewing needs for the last two-and-a-half years. I’m greeted outside by owner, Nick Zubacs, who has kindly offered to help us experience homebrewing first hand.
Before Brew North, Nick enjoyed a long career as a graphics designer and art director. He’d gotten his start in homebrewing as many do: with a pre-made kit. Soon, his passions expanded to more varied recipes and increasingly-complex equipment, some of which he’s built by hand. When the opportunity came to turn his hobby into a business, Nick took it, building Brew North into a cost-effective brew shop catering to novices and seasoned veterans alike.

Photo by Nicholas Wong.
We step into the shop and I’m immediately greeted by the nutty aroma of malted barley and other grains. What’s surprising is the sheer variety arranged on shelves that occupy nearly half of the shop. Some, Nick explains, are known as base malts. These form the backbone of all beers; they’ve been processed in a way that preserves the available sugars and enzymes needed for a good fermentation. In brewers parlance, this is known as diastatic power.
Then there are speciality malts. Nick cracks open a dark-roasted variety used to give stouts their unique dark colour and toffee notes. The closest culinary analogue to these are spices for cooking. On their own, these don’t have the diastatic power to keep beer-making yeast strains happy. Instead, they’re added sparingly to beer to boost complexity and flavour.
Tucked against the wall, Nick keeps two fridges stocked with the other two necessary ingredients: hops and yeast. Brew-ready hops often come in pellet format, and can be bought in individual one-ounce sealed packets. Each variety comes with its own distinct flavour and aroma profile along; some can be fruity, while others trend towards pine or skunk-like notes. In addition to adding further complexity to a beer, hops contain antimicrobial properties, making it a natural preservative.

Photo by Nicholas Wong.
Nick’s second fridge is filled with different yeast strains in both wet and dry form. Brewmaster’s yeast not only gives beer its boozy kick, it also plays a vital role in flavouring. Some strains can give a more spicy note to beer, while others - like a lactobacillus - is used to sour beers. Brew North has a wide variety to chose from, including yeast cultivated by Escarpment Labs, a Guelph-based yeast lab with some rare strains (including one cultivated from wild strawberry scrapings).
Alongside these are an array of pots, insulated containers, copper tubing, and burners. Like all hobbies, homebrewing can range drastically in complexity (and price). It’s possible to make beer with basic kitchen equipment - a metal pot, a spoon, and a vessel for fermenting. Things can escalate quickly in the pursuit of greater volume and consistency. In addition to ready-made equipment, the homebrewing community has a strong DIY element. Many, including Nick himself, take it upon themselves to fashion pots, picnic coolers, and pipes into vessels capable of brewing beer.
Myself, I’ve opted to merely dip my toes into the homebrew waters. Thankfully, Brew North carries a full selection of beginner all-grain kits from Brooklyn Brew Shop. The box holds all of the equipment and ingredients needed to turn out a one-gallon batch of beer in five to six weeks. Now, just a matter to choose what style of beer to brew.
My first reaction is to reach for a sour beer kit, but Nick cautions me that with a secondary fermentation process (to make the beer sour) it might not be the best starter kit for a novice brewer like me. Flashbacks of my first sourdough loaf appear - a reminder that sometimes first projects can go horribly wrong. Unlike bread, though, a botched batch of beer won’t be apparent for weeks rather than a couple of days. Failure isn’t an option, especially since I’ve promised both Nick and the brewing team at Bandit Brewery to bring my beer for a tasting session once it’s done.
Instead, I reach for one called a Bruxelles Blonde, which promises a Belgian-inspired blonde ale with restrained hops flavours. With kit tucked under one arm, I head home to prepare for brew day.
See you in five weeks, Brew North.
Brew Day

Photo by Nicholas Wong.
“If you can make oatmeal, you can make beer”.
That’s the promise at the top of the instructions provided by Brooklyn Brew Shop. In simple terms, beer is essentially a grain and hops tea - known as wort - that’s been inoculated with a ‘good’ strain of yeast. As the yeast thrives and multiplies, it converts the sugars into alcohol and carbon dioxide.
On Nick’s advice, I’ve dedicated three-hours of my weekend to the project. I’ve also taken extra care in scrubbing down my kitchen space and setting aside all of the spoons, thermometers, pots, and funnels I’ll need for the brew. Ask any brewer for tips and the first thing they’ll tell you is that sanitation is key.
Thankfully, my kit comes with a package of sanitizer mix. I make a gallon of sanitizer straight in the glass carboy (fermenting jug) to clean that, then fill a large pot and spray bottle with the liquid. All of my tools then get a long soak in the sanitizer as I heat water for the first step of the brew process: the mash.
The Mash

Photo by Kimberley Kwo.
After heating nearly 2.5L of water to 160F, I dump the full package of mixed grains into the pot. The folk at Brooklyn Brew Shop let me know it’s a combination of light pilsner malts with some wheat for mouthfeel.
Soon, my little Toronto apartment is filled with the welcoming scent of cooked porridge. I need to keep the mash’s temperature between 144F and 152F for a full hour to extract the maximum amount of sugars from the grain. I pour myself a finger of scotch (in my mind, it’s beer’s stronger, higher maintenance cousin) as I watch the thermometers.
Once the time’s up, I heat the whole mixture up to 170F, then cut the burner. It’s time for the next stage, the sparge.
The Sparge

Photo by Kimberley Kwo.
I’ve setup a makeshift lauter tun out of a mesh strainer and pot. First, I slowly strain my mash through the strainer. A word of caution, no instructions mention this, but I highly suggest a second pair of hands throughout this process to help steady things (and for comfort). Straining the wort takes effort, and a spare set of hands, to accomplish without spilling the precious beer-to-be onto the floor.
It’s now time for a process known as the sparge, where I pour another pot of water heated to 170F slowly through the strainer to collect any residual sugars stuck to the grains. I switch pots and recirculate the liquid, now known as wort, through the strainer one more time.
The Boil
Now, it’s time to bring the liquid to a boil. During this step the high heat sterilizes the liquid, concentrates the liquid, and caramelizes some of the sugars. It’s also when I introduce hops into the mix.

Photo by Nicholas Wong.
How much hops, and when during the boil, changes the characteristics extracted from the little pellets. Earlier in the boil lends more bitterness. More floral, citrus notes can be coaxed by adding the hops later into the process. My recipe calls for regular doses of ⅓ of the hops packet, which I’ve measured out using a digital scale pilfered from my coffee-making kit.
An hour later, I’m ready to transfer the wort to my carboy for fermenting. Now is the time when I worry about sanitation; anything that touches the liquid from now on needs to be well sanitized using my handy spray bottle.
The Chill
Before I add my yeast to the wort, I need to cool the liquid down to a temperature perfect for growing conditions, about 70F. The whole pot goes into my sink, which I’ve turned into an ice bath. This step is an agonizingly (dare I say glacially?) slow process. More than half an hour later, and several changes of sink water, I’m ready for the the next step.
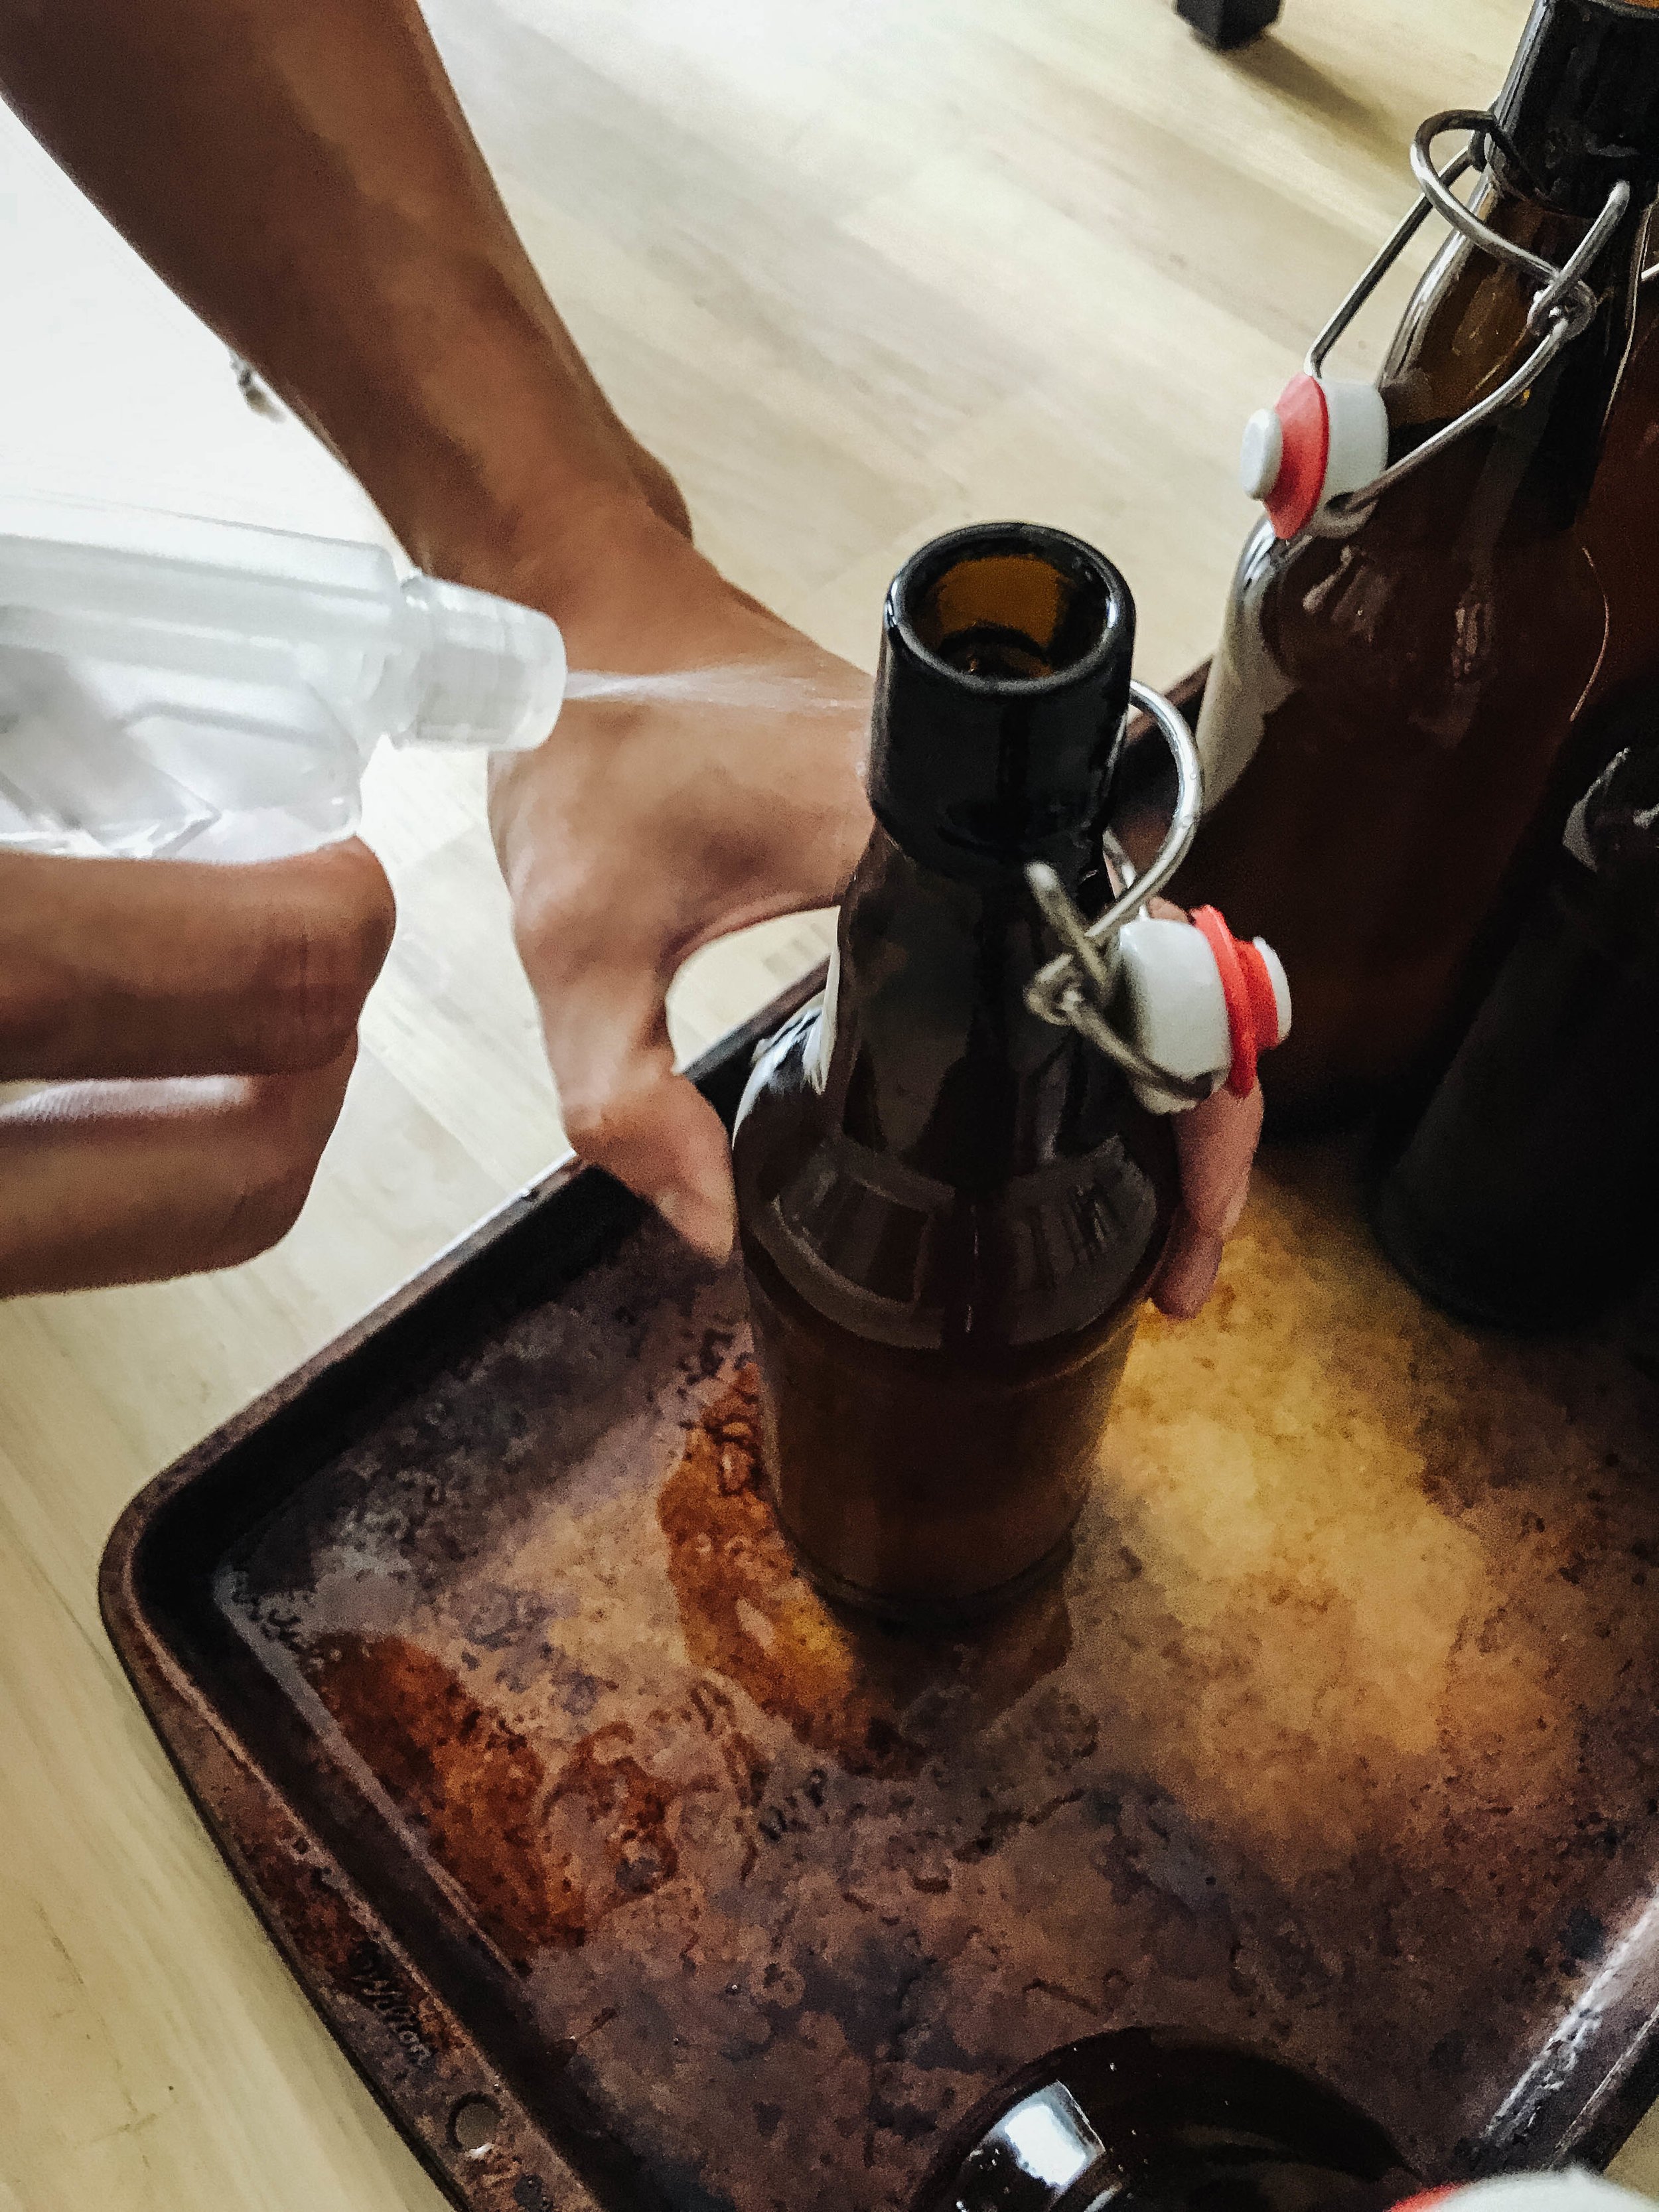
Pitching the yeast
The wort is carefully funneled into my carboy, then the full package of yeast is shaken in. I spritz sanitizer into the palm of my hand, then cover the top and shake to aerate the liquid and dissolve the yeast.
Now, it’s time for a two-week nap in my office cupboard.

Photo by Abhishek Dekate.
The Bottling
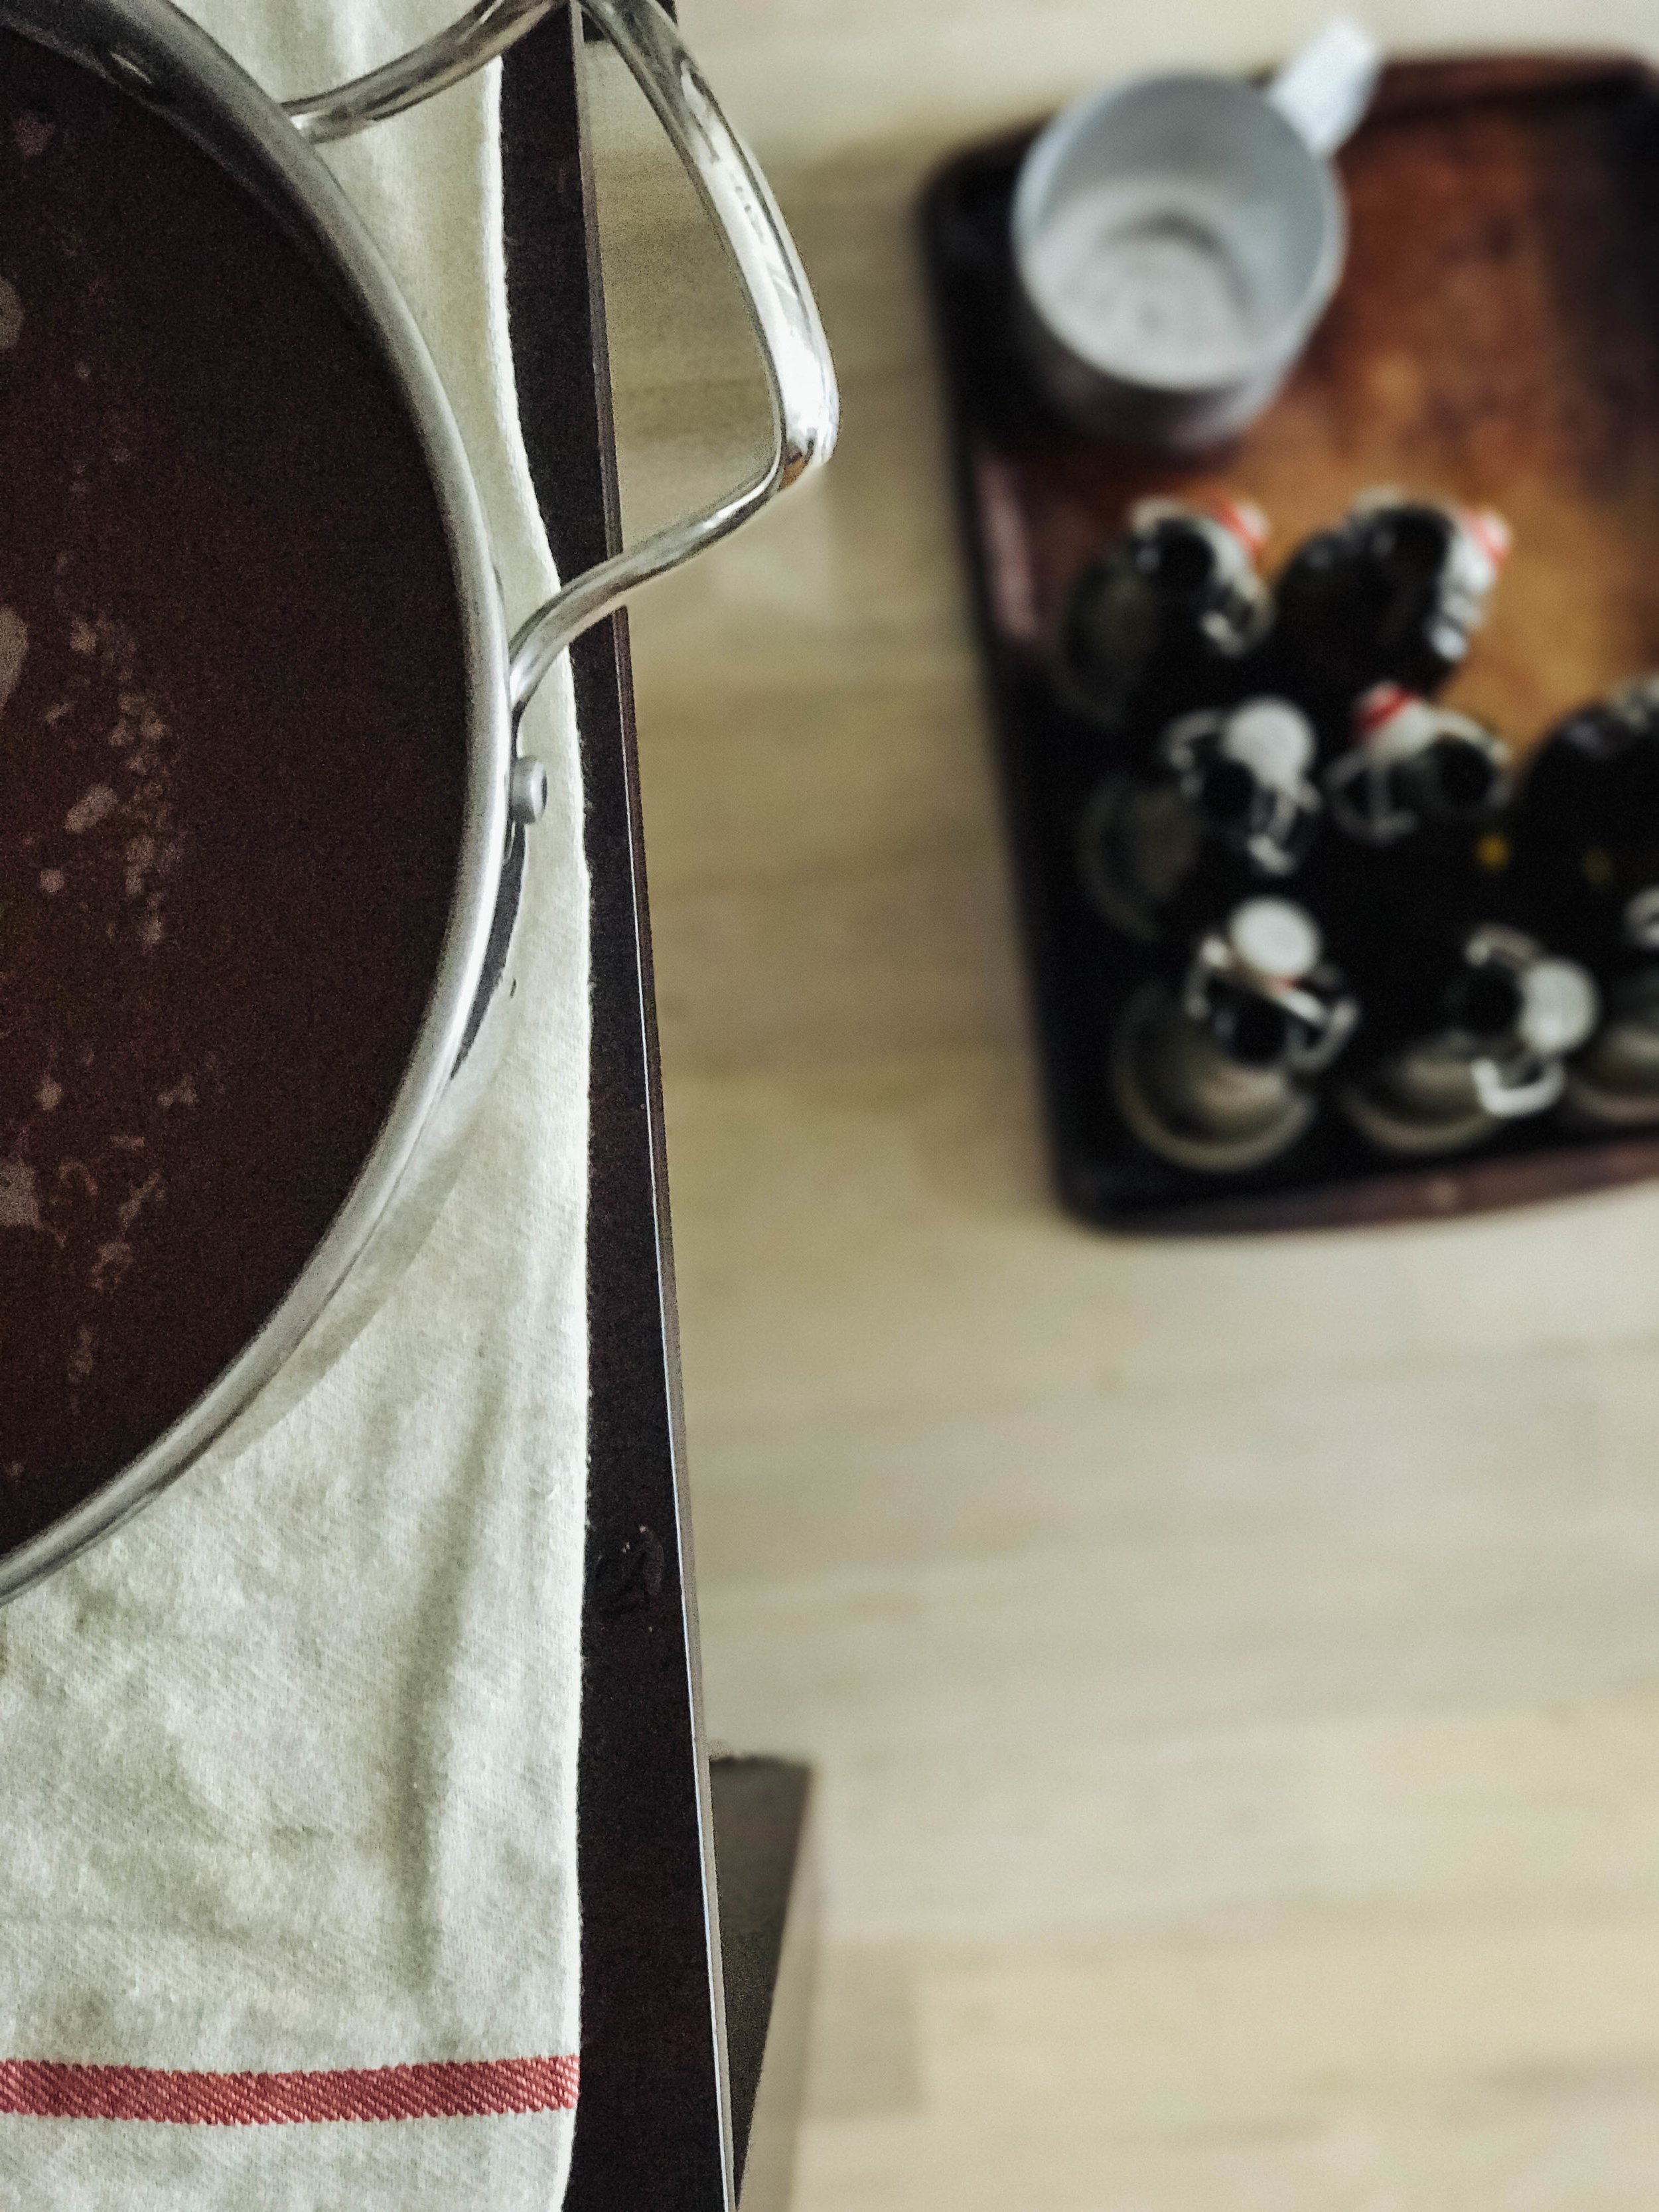
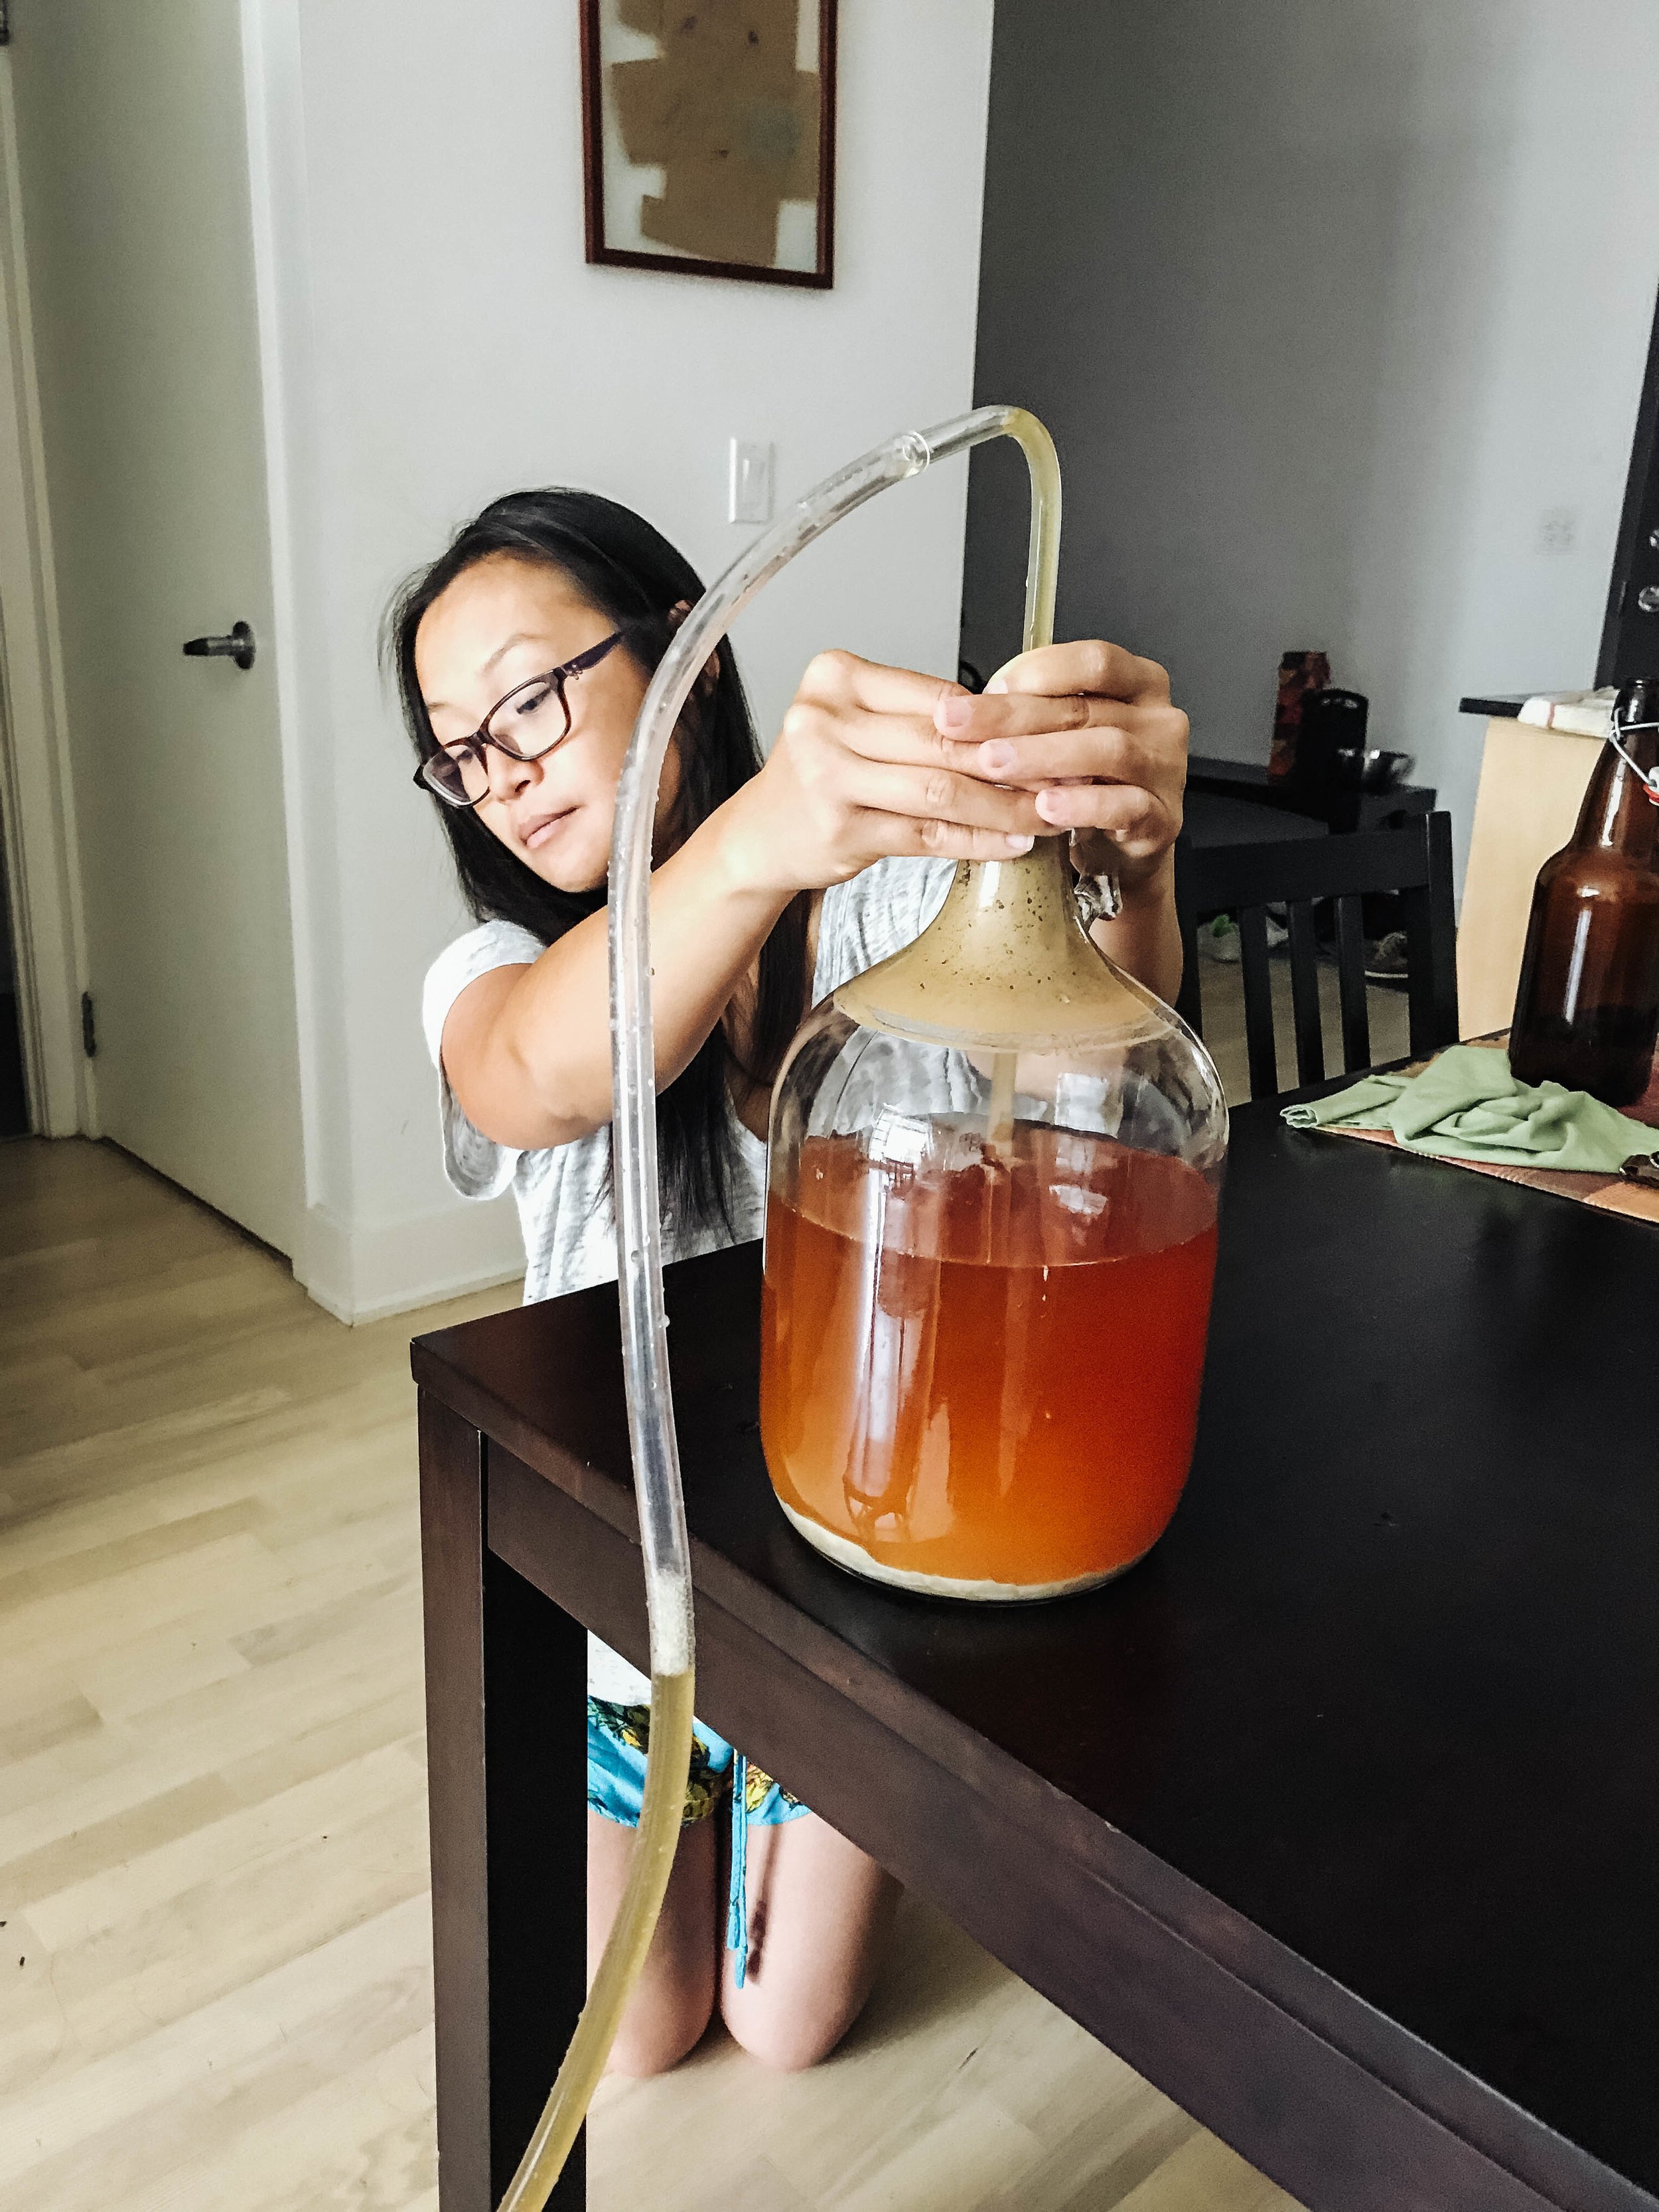
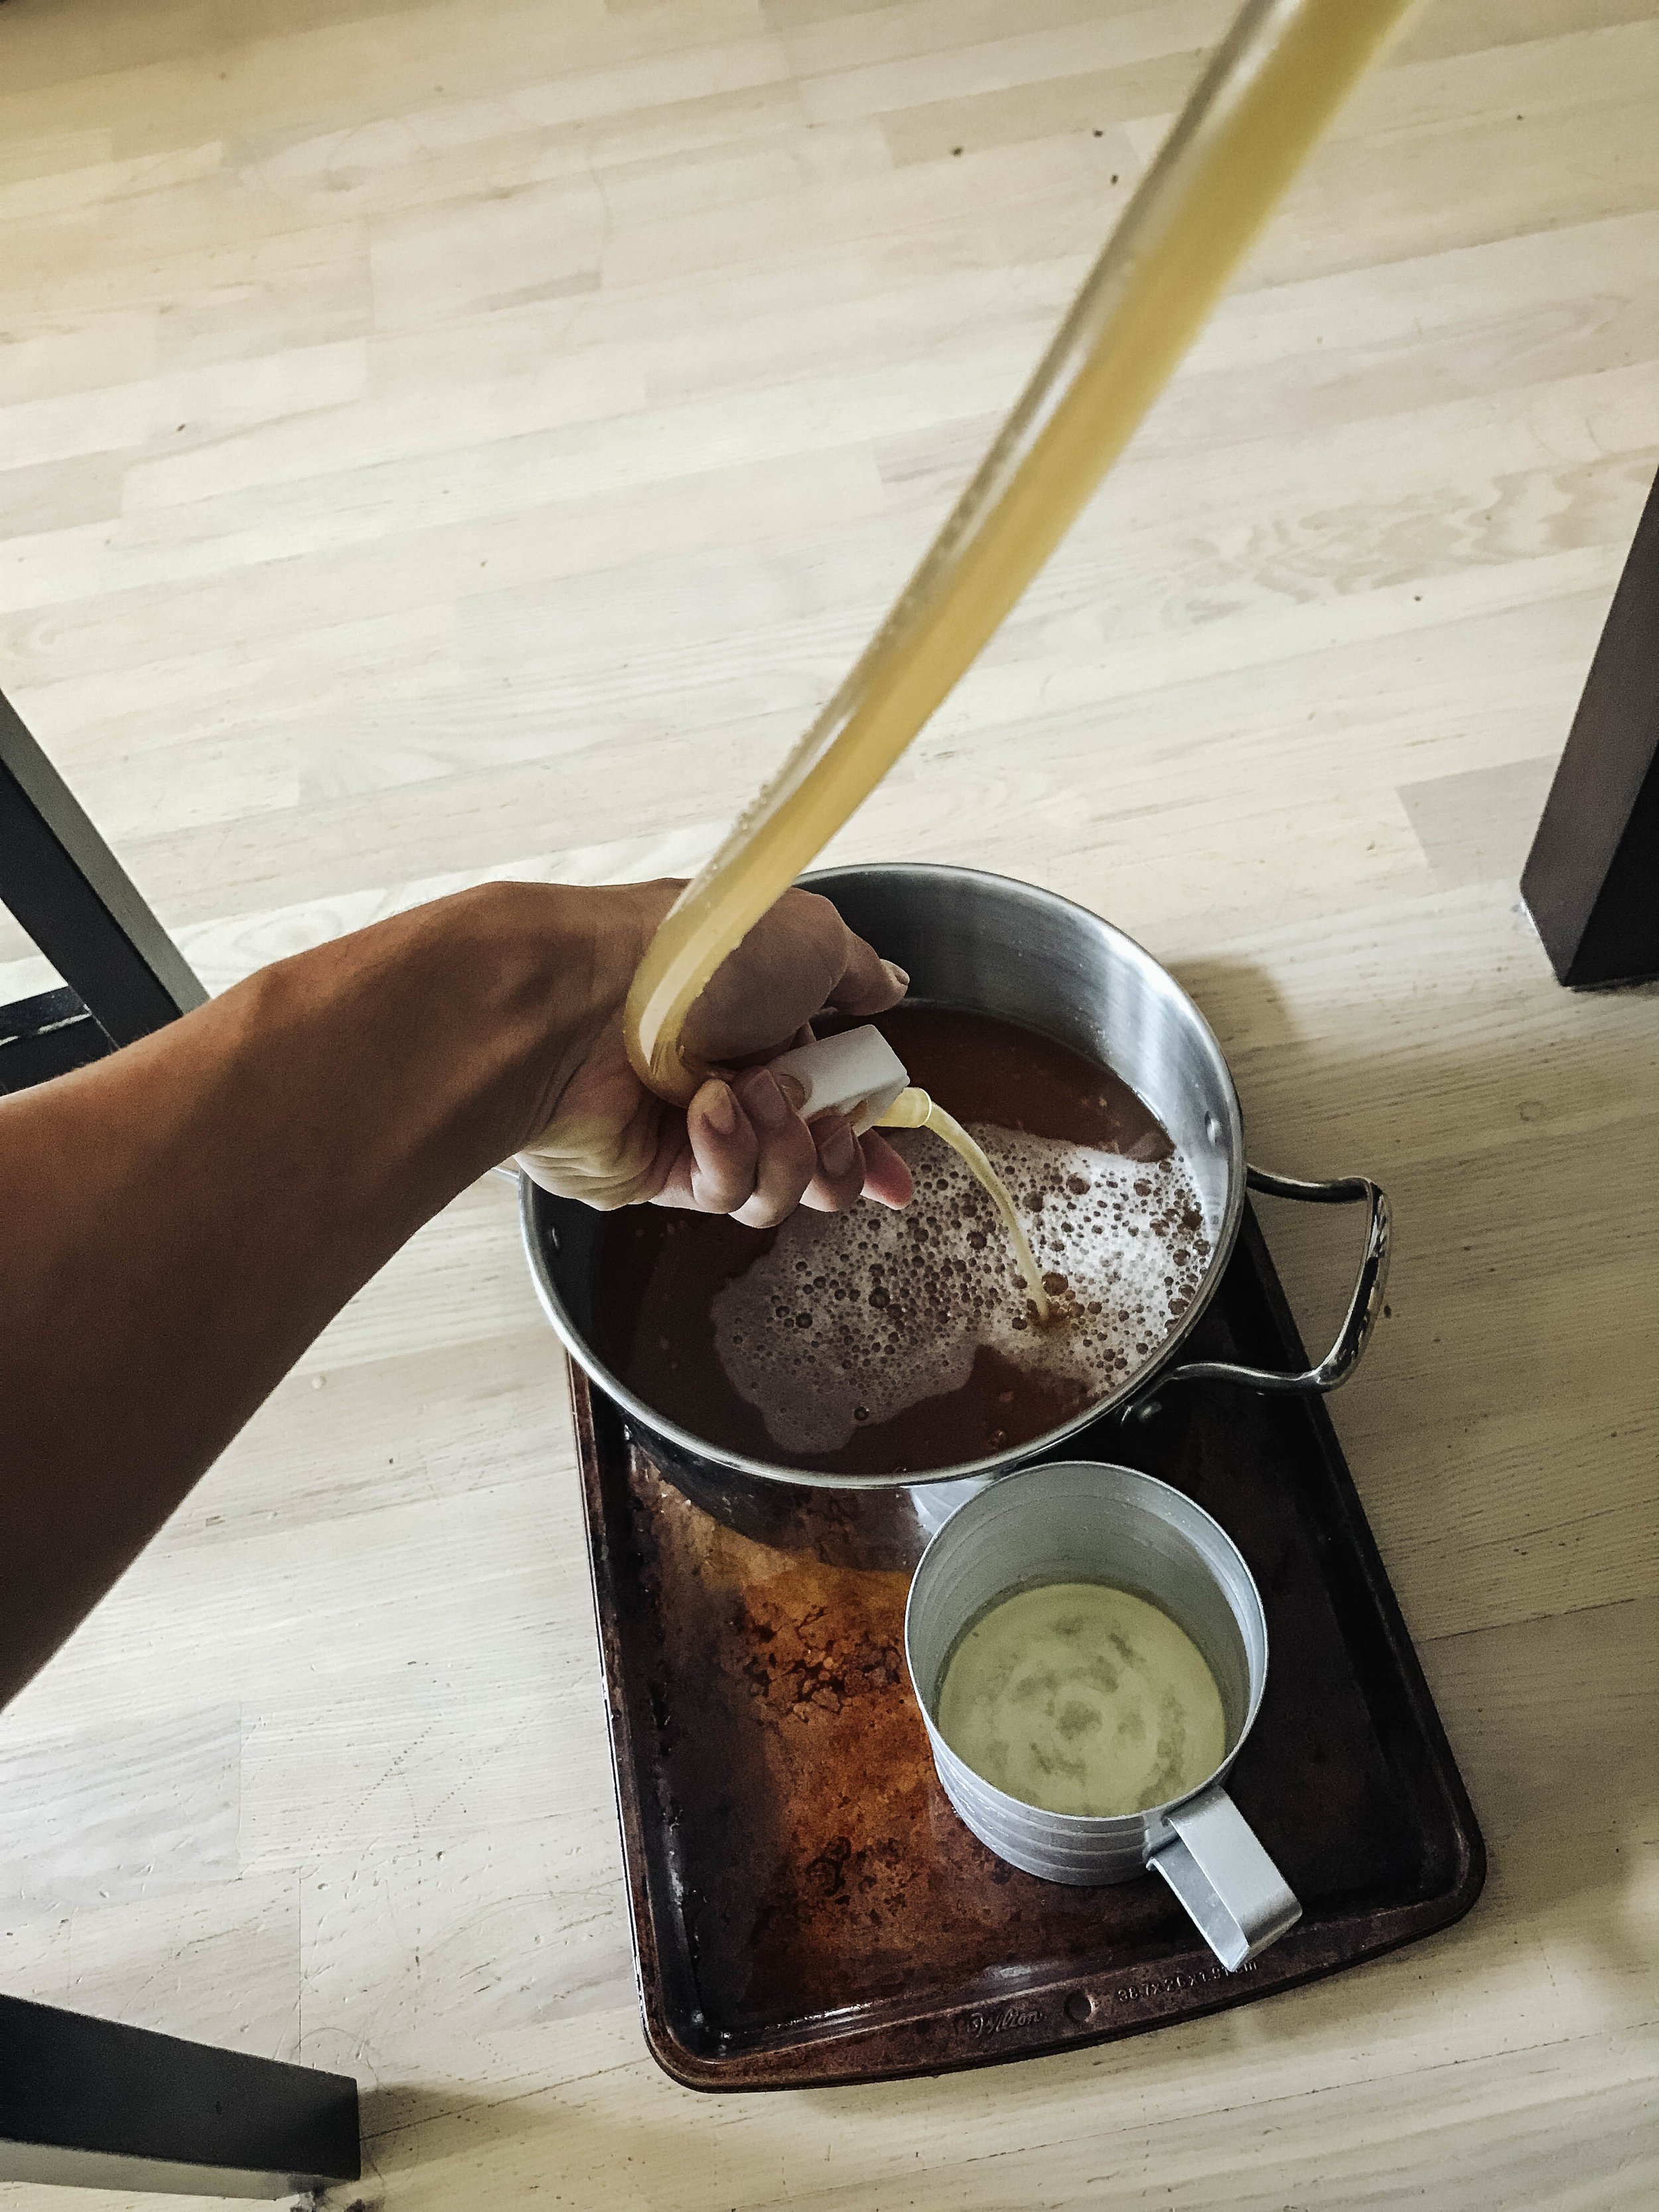
Nearly three weeks later, it’s time to bottle. This is probably the most difficult task using the Brooklyn Brew Shop kit. While there are many ways of transferring beer, this method uses a racking cane - a giant straw made of clear plastic - to harness the power of physics to drain the fermentor. Plastic tubing is filled with water and carefully attached to the cane. Then the water is poured out into a cup placed at a lower level than the carboy; this creates a vacuum that siphons the beer up and out.
This, too, is a two-person job. The racking cane needs to be held above a layer of post-fermentation sediment at the bottom of the fermentor known as trub. I’d also recommend a couple trial runs with the racking cane and plain water before taking the plunge with actual beer; this takes some practice.
It’s worth noting that, right now, the beer is alcoholic but not fizzy. Serious homebrewers and most commercial breweries solve this by carbonating their beer the same way a soda is. Others - such as this kit’s recipe - bottle condition their beer, a process that involves adding extra sugar to re-activate the yeast in the closed bottles, creating natural carbonation. I add three tablespoons of honey mixed in warm water to the beer, then cap the bottles. Only two more weeks before I can taste the fruits of my labour.
The Bandit Team
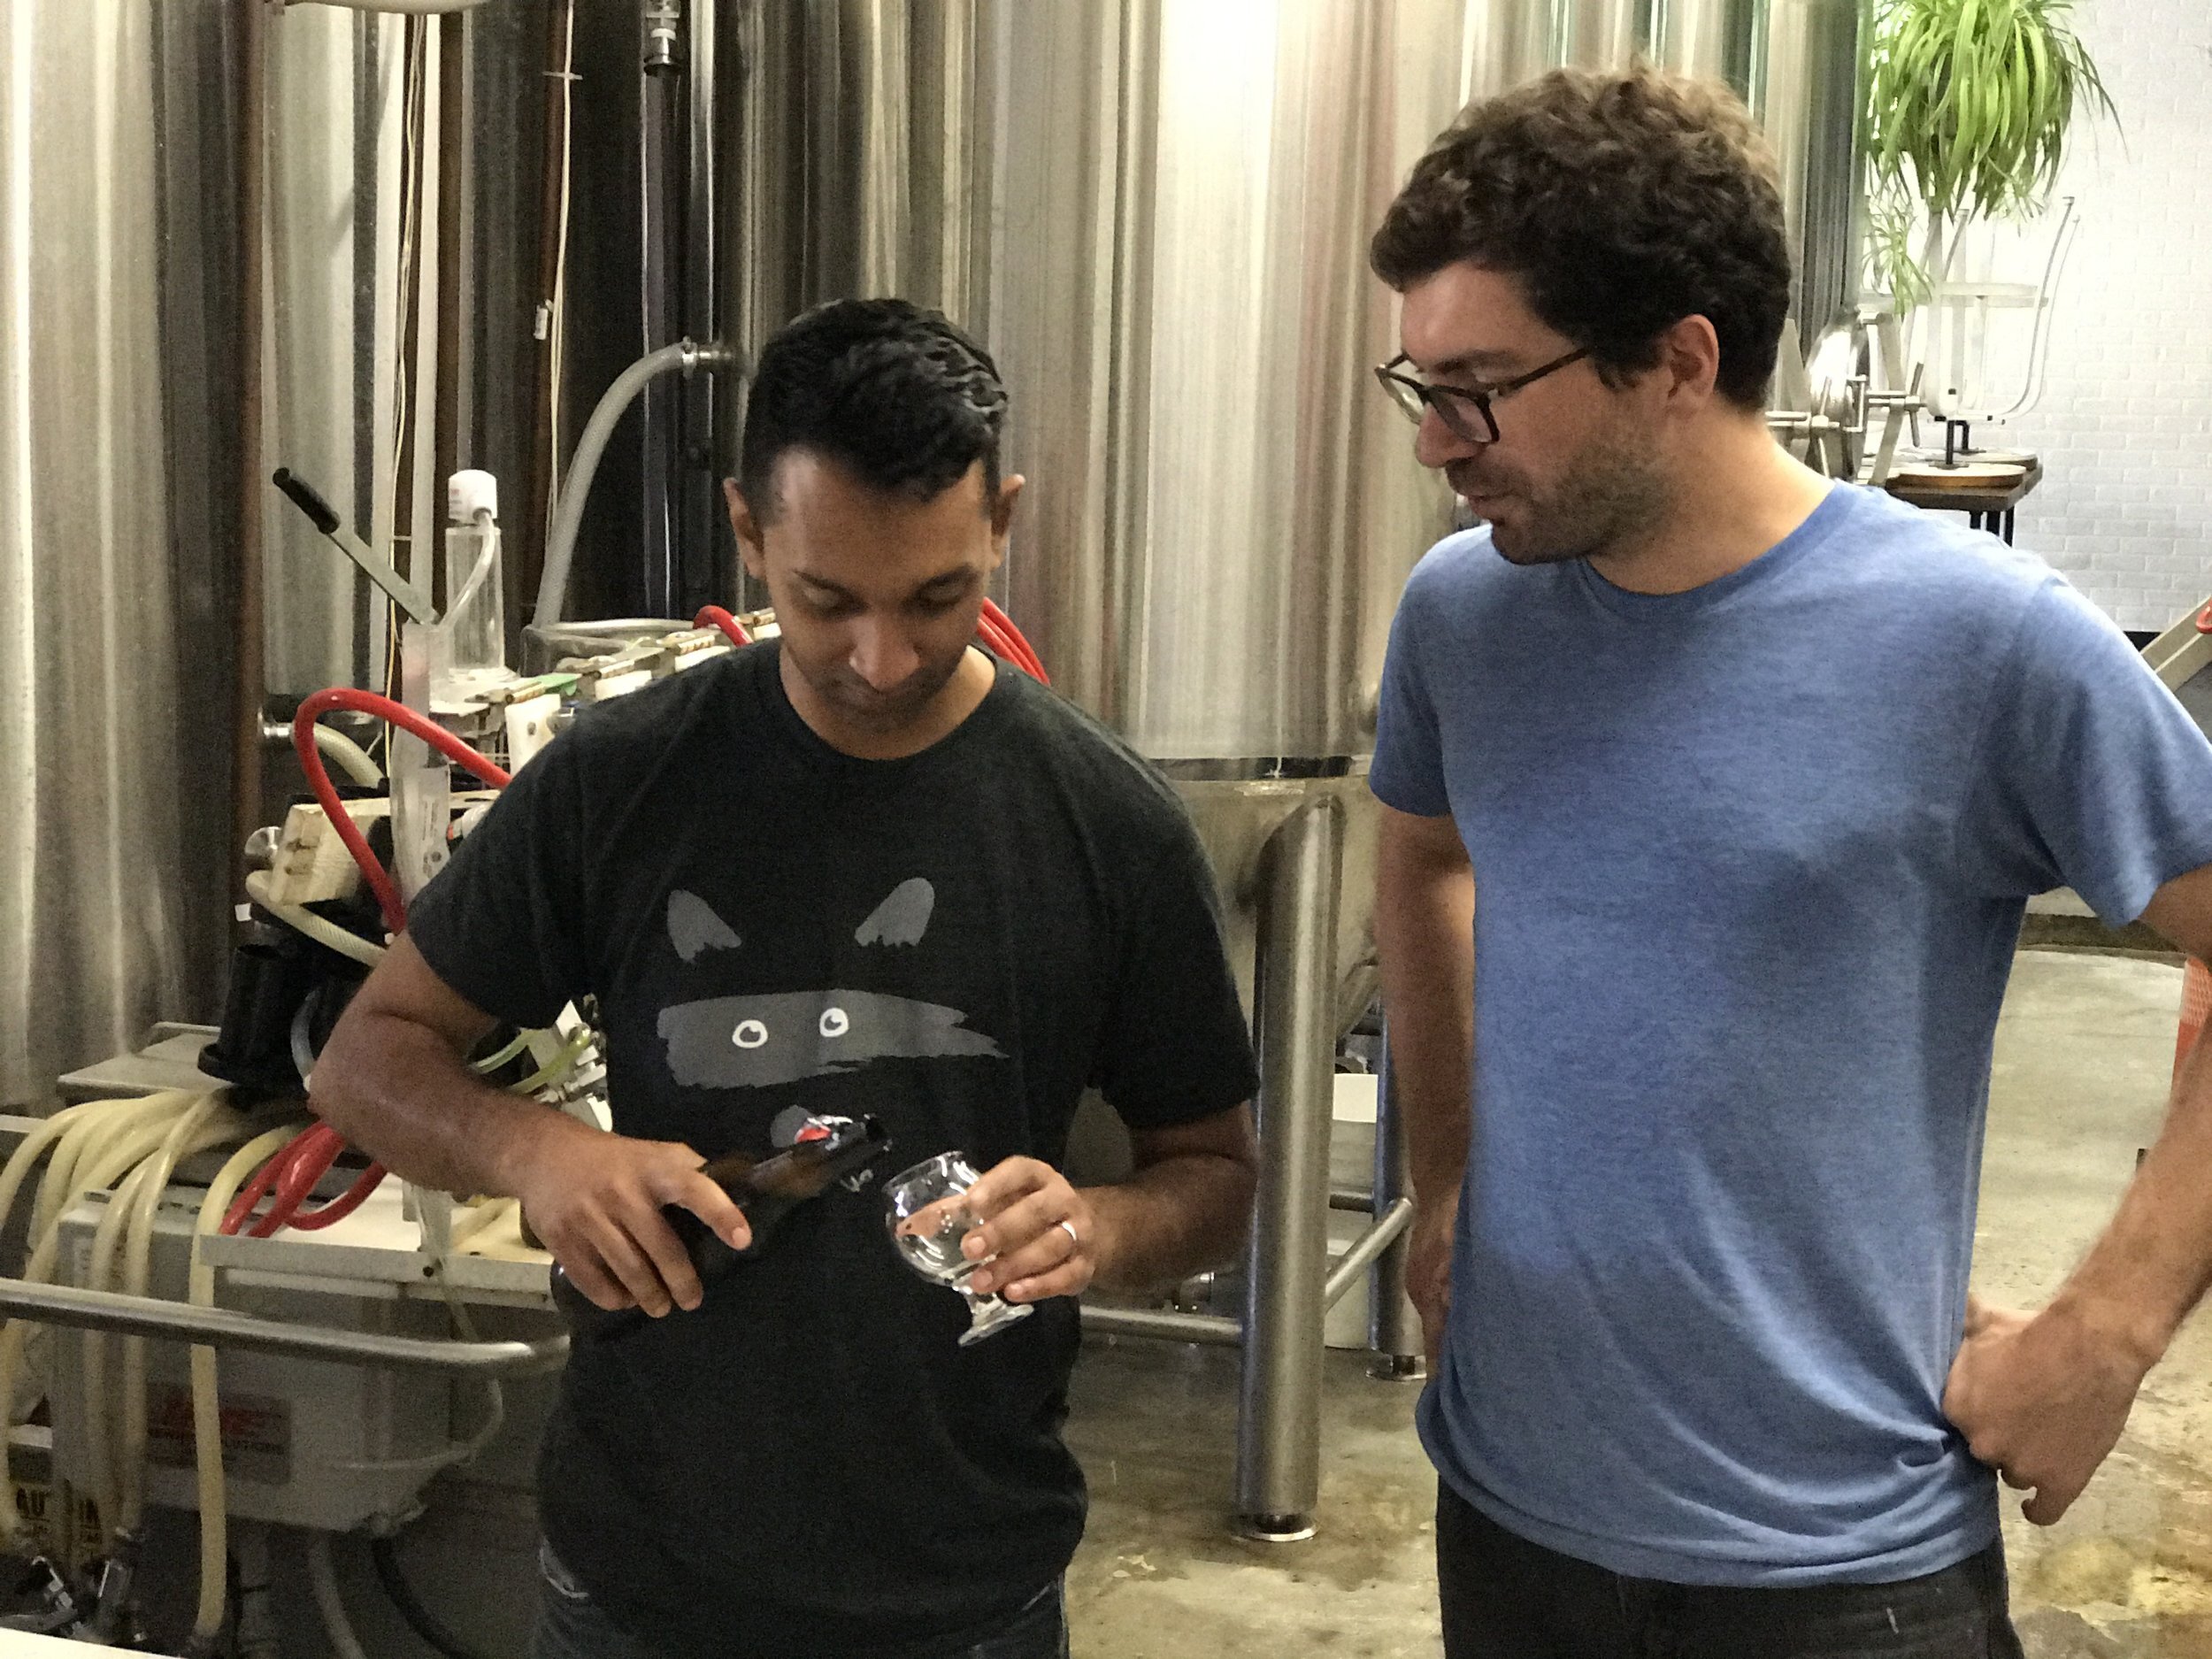
Photo by Nicholas Wong.
I hold my breath as the brewing team at Bandit Brewery pops the top off my bottle of homebrew. I’ve already sampled one small bottle to make sure it was fizzy and wouldn’t kill anyone (probably). Blessedly, it tastes like beer. But what would professional brewers think?
The full team, including owners Stephane and Shehzad, are arranged around a table at the back of the brewery, small tasting glasses filled with my beer in hand.
“Well, it’s carbonated, so you’ve already made a better beer than 90% of homebrewers,” says Ben Morris, one of Bandit’s lead brewers.
Success! When nosed from the glass, there’s some light floral notes courtesy of the Golding hops added during the boil. It’s smooth, with hints of bubblegum, sweet malt, and a lingering sweetness.

Photo by Nicholas Wong.
More importantly, there are no off-flavours (which would signal that something went wrong during fermentation) in my beer. The team explains to me that sulphur, acid, or extreme vegetal notes can result from an infected beer. Then, there’s the dreaded pediococcus, a type of bacteria that lends a buttery flavour to the beer; it also creates extreme explosions of foam when a bottle is uncapped. As the Bandit team recounts tales of beer geysers reaching the ceiling, I quietly realize that I should have opened my test bottle over the sink … or outside.
Overall, it’s a decent beer: one that I’d happily finish. But it’s not a beer with any remarkable tasting notes; yes, an unreasonable goal considering it was my first batch from a ready-made kit. What could I improve upon for my next batch?
“Honey’s sugars are only 96% fermentable,” explains Ben. “There’s a noticeable sweetness at the end of this beer since it’s so light.” Switching my conditioning sugar to something more fermentable, like corn syrup or dextrose, would lead to a more dry finish. The team also suggests that I pay special attention to the type of yeast that I use. To give this beer a more spicy, true-Belgian flavour, a more robust strain may have made a better beer.
I leave Bandit Brewery proudly. But there’s one more test ahead: it’s time to go back to Brew North.
Brew North
I meet Nick at Brew North shortly before closing time. With me: one lone bottle carefully tucked into an insulated bag to shield it from the lingering Summer heat. We crack the beer and step outside to drink in some of the sun. Nick has similar tasting notes to the Bandit team. It’s a beer - a pretty decent beer, especially for my first time.

Nick Zubacs. Photo by Nicholas Wong.
As we drink, I pepper him with questions about the brewing process. It’s during this time that I understand the true allure of homebrewing. With just one batch of beer made, I’m already looking for ways to make the next one better. It’s partially a personality thing - a need to be better than simply good at something. Does the sparge process really need that many pots? My wort looked a little cloudy, how could I get a more clear beer? Can I cut down the cooling time? It’s no wonder that many homebrewers tend towards DIY projects. For those who like to tinker, there are so many mechanical variables at play that can affect the quality of the beer.

Photo by Nicholas Wong.
And that’s to say nothing about recipe creation. With so many different types of malts, hops, and yeast strains available to the modern homebrewer anything is possible. For the numerically-inclined, it’s possible to see brewing through the lense of steadily-growing spreadsheets. Grain composition, extraction rates, yeast conversion, a particular varietal of hops’ alpha-acid content. Shift just a couple variables and the beer could change into a completely different style.
At the same time, there’s a definite art to this craft - an innate sense of how to get to the ‘perfect’ beer that can only come with long hours and repetition.
Which leads me to an important question: what’s next? I now have all of the equipment needed to make my next gallon of beer. All I need is ingredients. Thankfully, in addition to carrying homebrewing supplies, Nick also makes recipes for novice brewers. We decide on a saison, a style of beer that originated as a refreshment offered by Belgian farmers to their staff during harvest season. With luck, it will be a crisp, golden beer with a spicy backbone thanks to a potent strain of Belgian yeast.
As I step out of Brew North, I’m not just planning my upcoming brew day. I’m thinking of what I need to do to scale my brewing operation. I’ve got a spare cooler out back; what if I made a trip to the hardware store ...

Photo by Abhishek Dekate.
Words by Nicholas Wong. Photos by Abhishek Dekate, Kimberley Kwo, and Nicholas Wong.
Special thanks to Nick Zubacs and Brew North for graciously providing the home brew kit used for the article. For those looking to get into the craft of home brewing, Nick makes taking the plunge painless - even for a novice like me. For the veteran hop-head, he's the perfect guy to nerd out about diastatic power and alpha acids with.
Say 'hi' to him at Brew North's Leslieville location:
1578 Queen St. East
Toronto, Ontario, Canada M4L 1G1