In The Kitchen: Challah
We celebrate this Kosher, egg-enriched bread with two recipes.
Perhaps it's challah's intricate braiding that called us to it. Or the way its crust glows with tantalizing luster when it emerges from the oven. Or its softly yielding crumb, fluffy with just a hint of sweetness. Perhaps it's all of these things. Whatever the reason, we definitely didn't turn to baking this bread because we keep Kosher.
The simple answer is that challah has an 'it' factor. At brunch, it's not just French toast, it's a challah French toast. That bread pudding? Elevated to greater levels with challah. Though long-ubiquitous on restaurant menus across the city, challah - and it's French cousin, brioche - still retains the ability to turn heads and pique interest in diners. The bread is just different enough, being able to stand up well in both sweet and savoury preparations. You want it - I know you want it.
But what exactly sets challah apart from other breads?
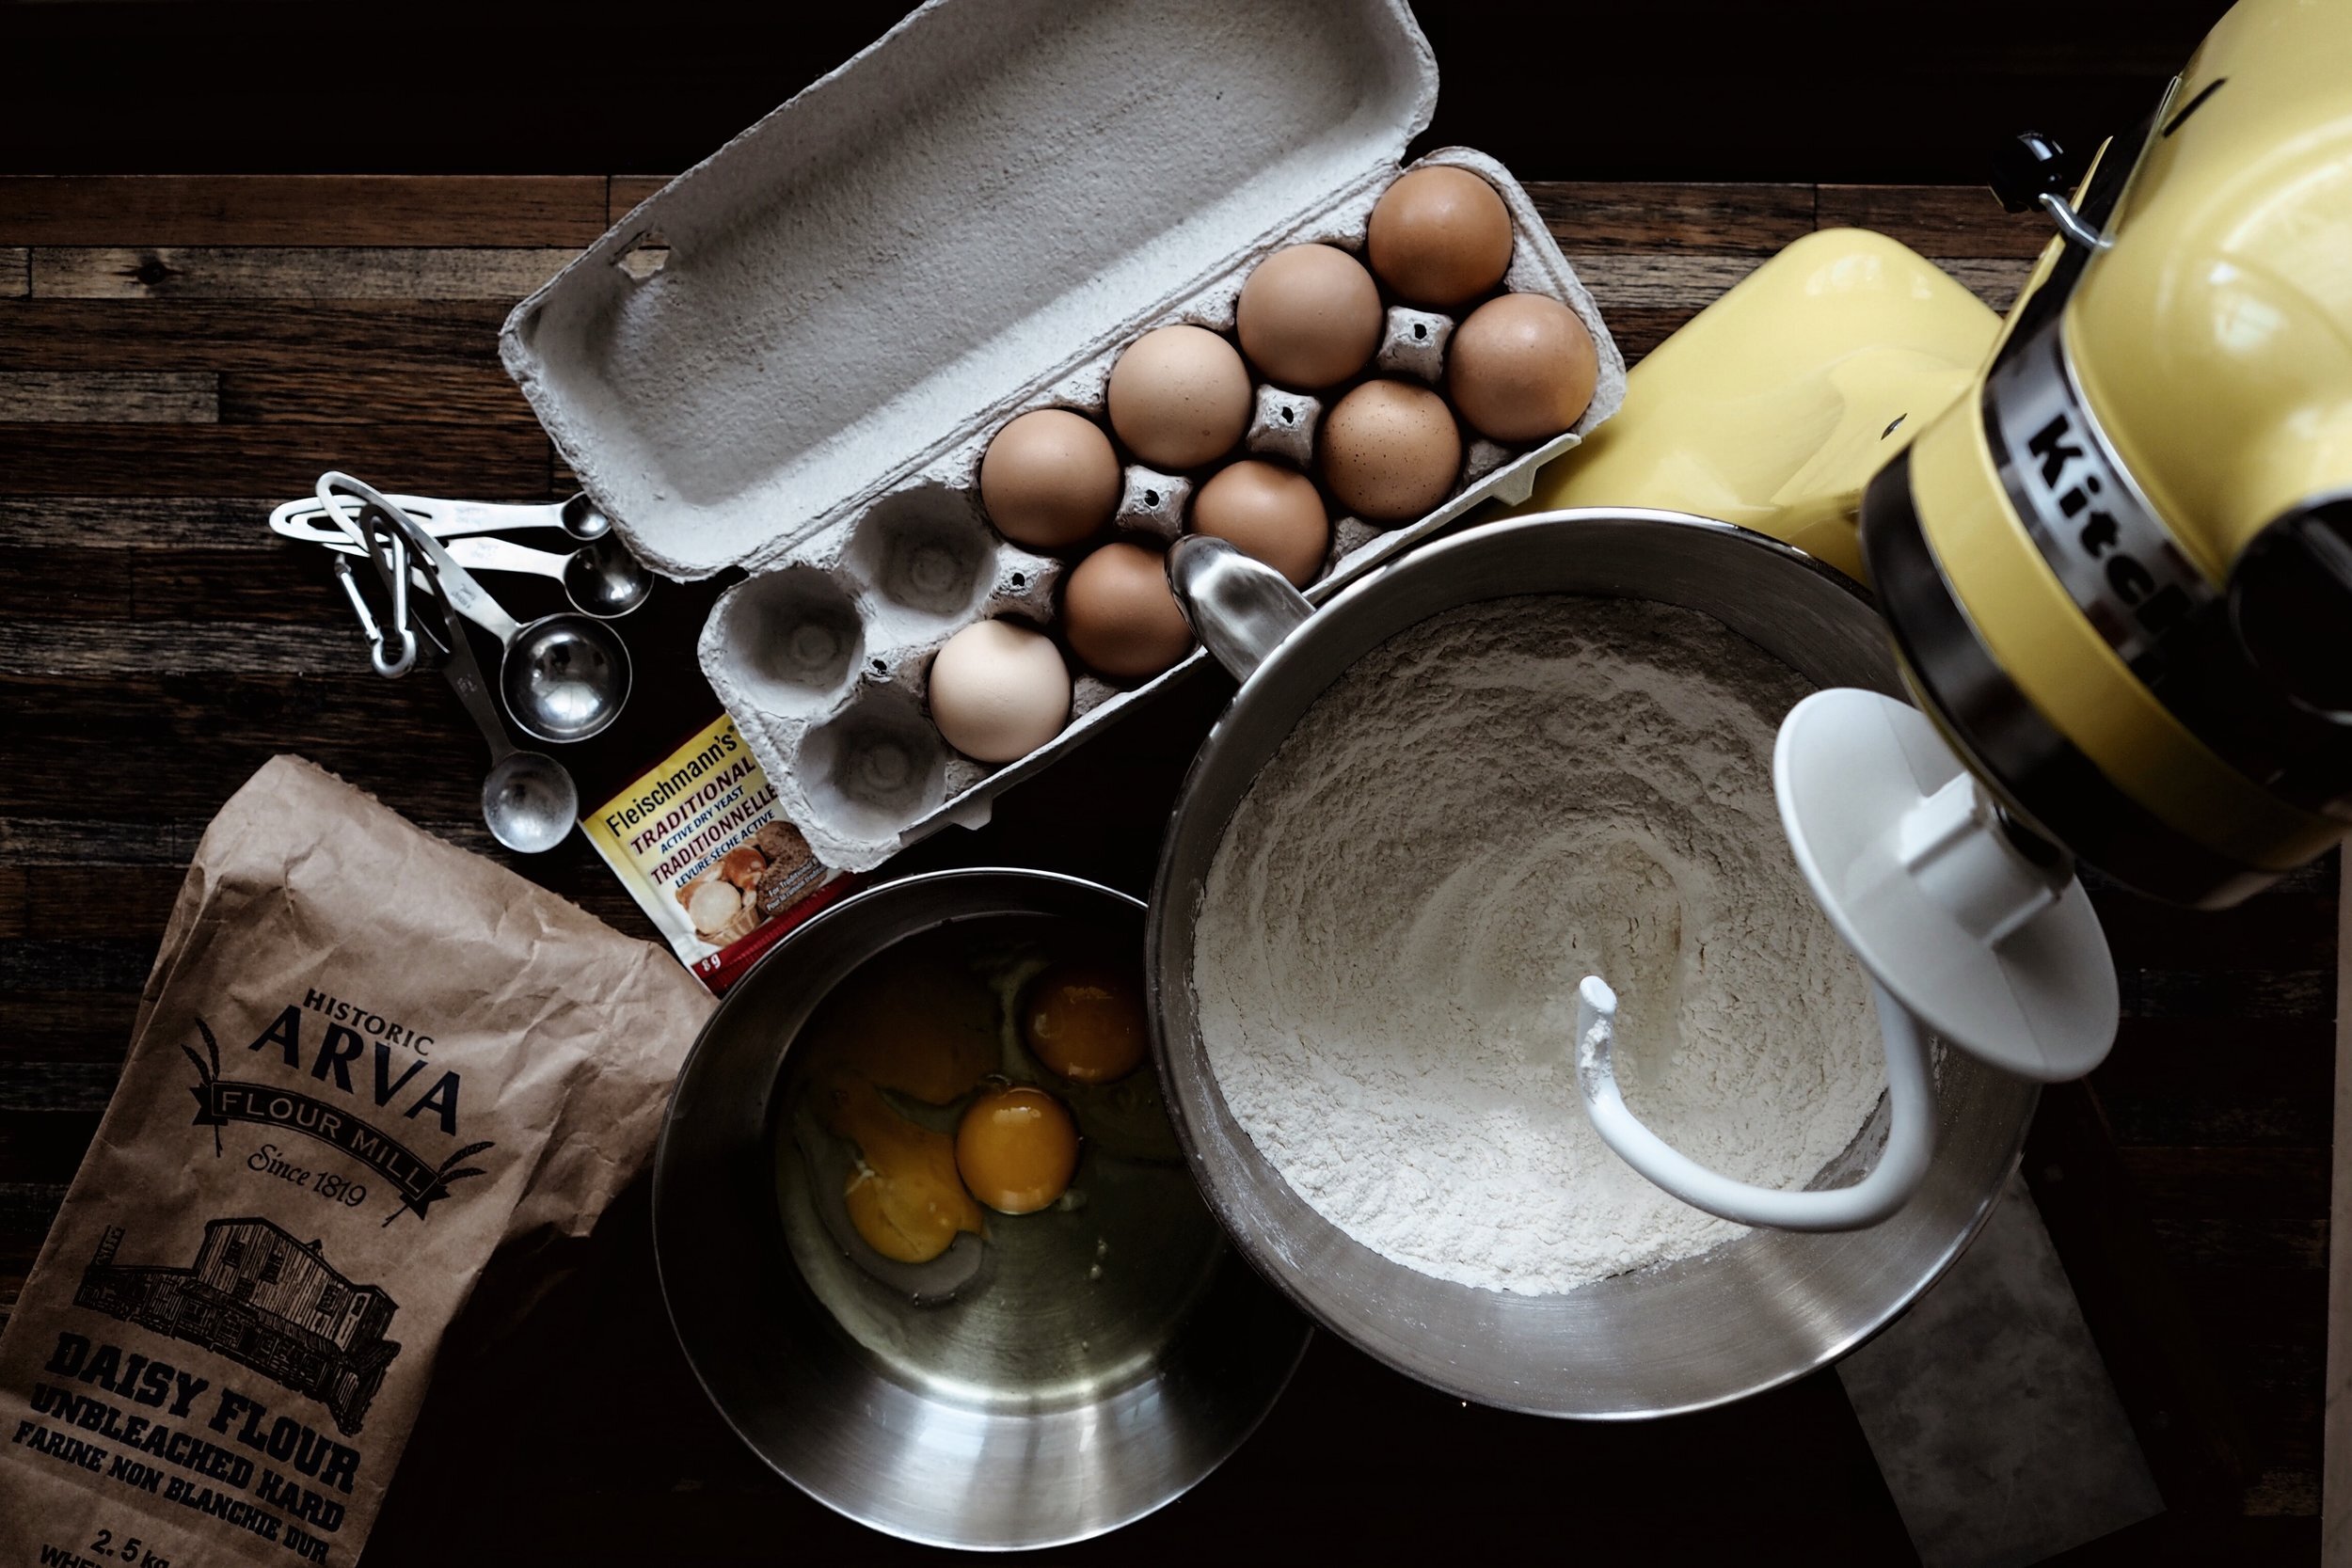
The most basic of bread recipes calls for just four ingredients: flour, water, salt, and a leavening agent (be it sourdough starter, baker's yeast, or chemical leavening agent like baking powder). In contrast, challah is enriched by the addition of eggs and oil, yielding a rich texture and tantalizing golden crumb. Swap the oil in the recipe for butter, add some milk, and you've got a working brioche recipe.
This distinction is important. While for a good many foodies challah is a signifier for deliciously different, for those keeping the Jewish faith it is a part of tradition. The bread is often eaten on Sabbath and other Jewish holidays; the addition of butter or milk would render the bread inedible alongside meat for adherent Jews.
So what happens when a Chinese-Canadian and an Indian-Canadian make challah? Is it cultural appropriation? As the futile debate in the far reaches of the internet ensues, we will enjoy our braided, eggy bread.
In The Test Kitchen
Right from the start, I can say that there is an easy way and a hard way to make challah bread.
The easiest, and by far the most widely trod path to fluffy bread nirvana, is to use commercial baker's yeast during the proofing process. It creates a voluminous ball of dough in a scant two hours without any 'off' flavours associated with wild fermentation. The resulting loaf of challah is puffy, softly yielding, and a joy to eat with very little effort.
The harder way is to let the sourdough gods take the wheel. Yes, most sweet, egg-y breads are now made with baker's yeast to avoid that characteristic sour element from combatting with the sweet. I have a notion that challah, like many other breads, was once traditionally made with a wild starter. As I learned while making my first loaves of sourdough bread, though, is that to use an automatic/manual transmission analogy when comparing the two methods is only valid if the manual transmission is found in a zeppelin alongside a wall full of other controls.


With proper execution, though, there is no reason why a sourdough version cannot be just as good - albeit different - than it's yeasted counterpart. Sourness can be controlled with proofing times and temperatures; and a faint whisper of sweetness could add an additional element of complexity to the finished product.
I won't claim to have invented the sourdough recipe through stroke of genius; it's just that there are so few recipes available on the Internet addressing this that I decided to simply wing it. So, born in part from curiosity - and equal parts laziness (why take a trip to buy baker's yeast when I have not one, but two, perfectly good sourdough starters) and masochism - I pursued a sourdough recipe. Abhi, with far more sense than me, selected a yeasted recipe from The Kitchn.
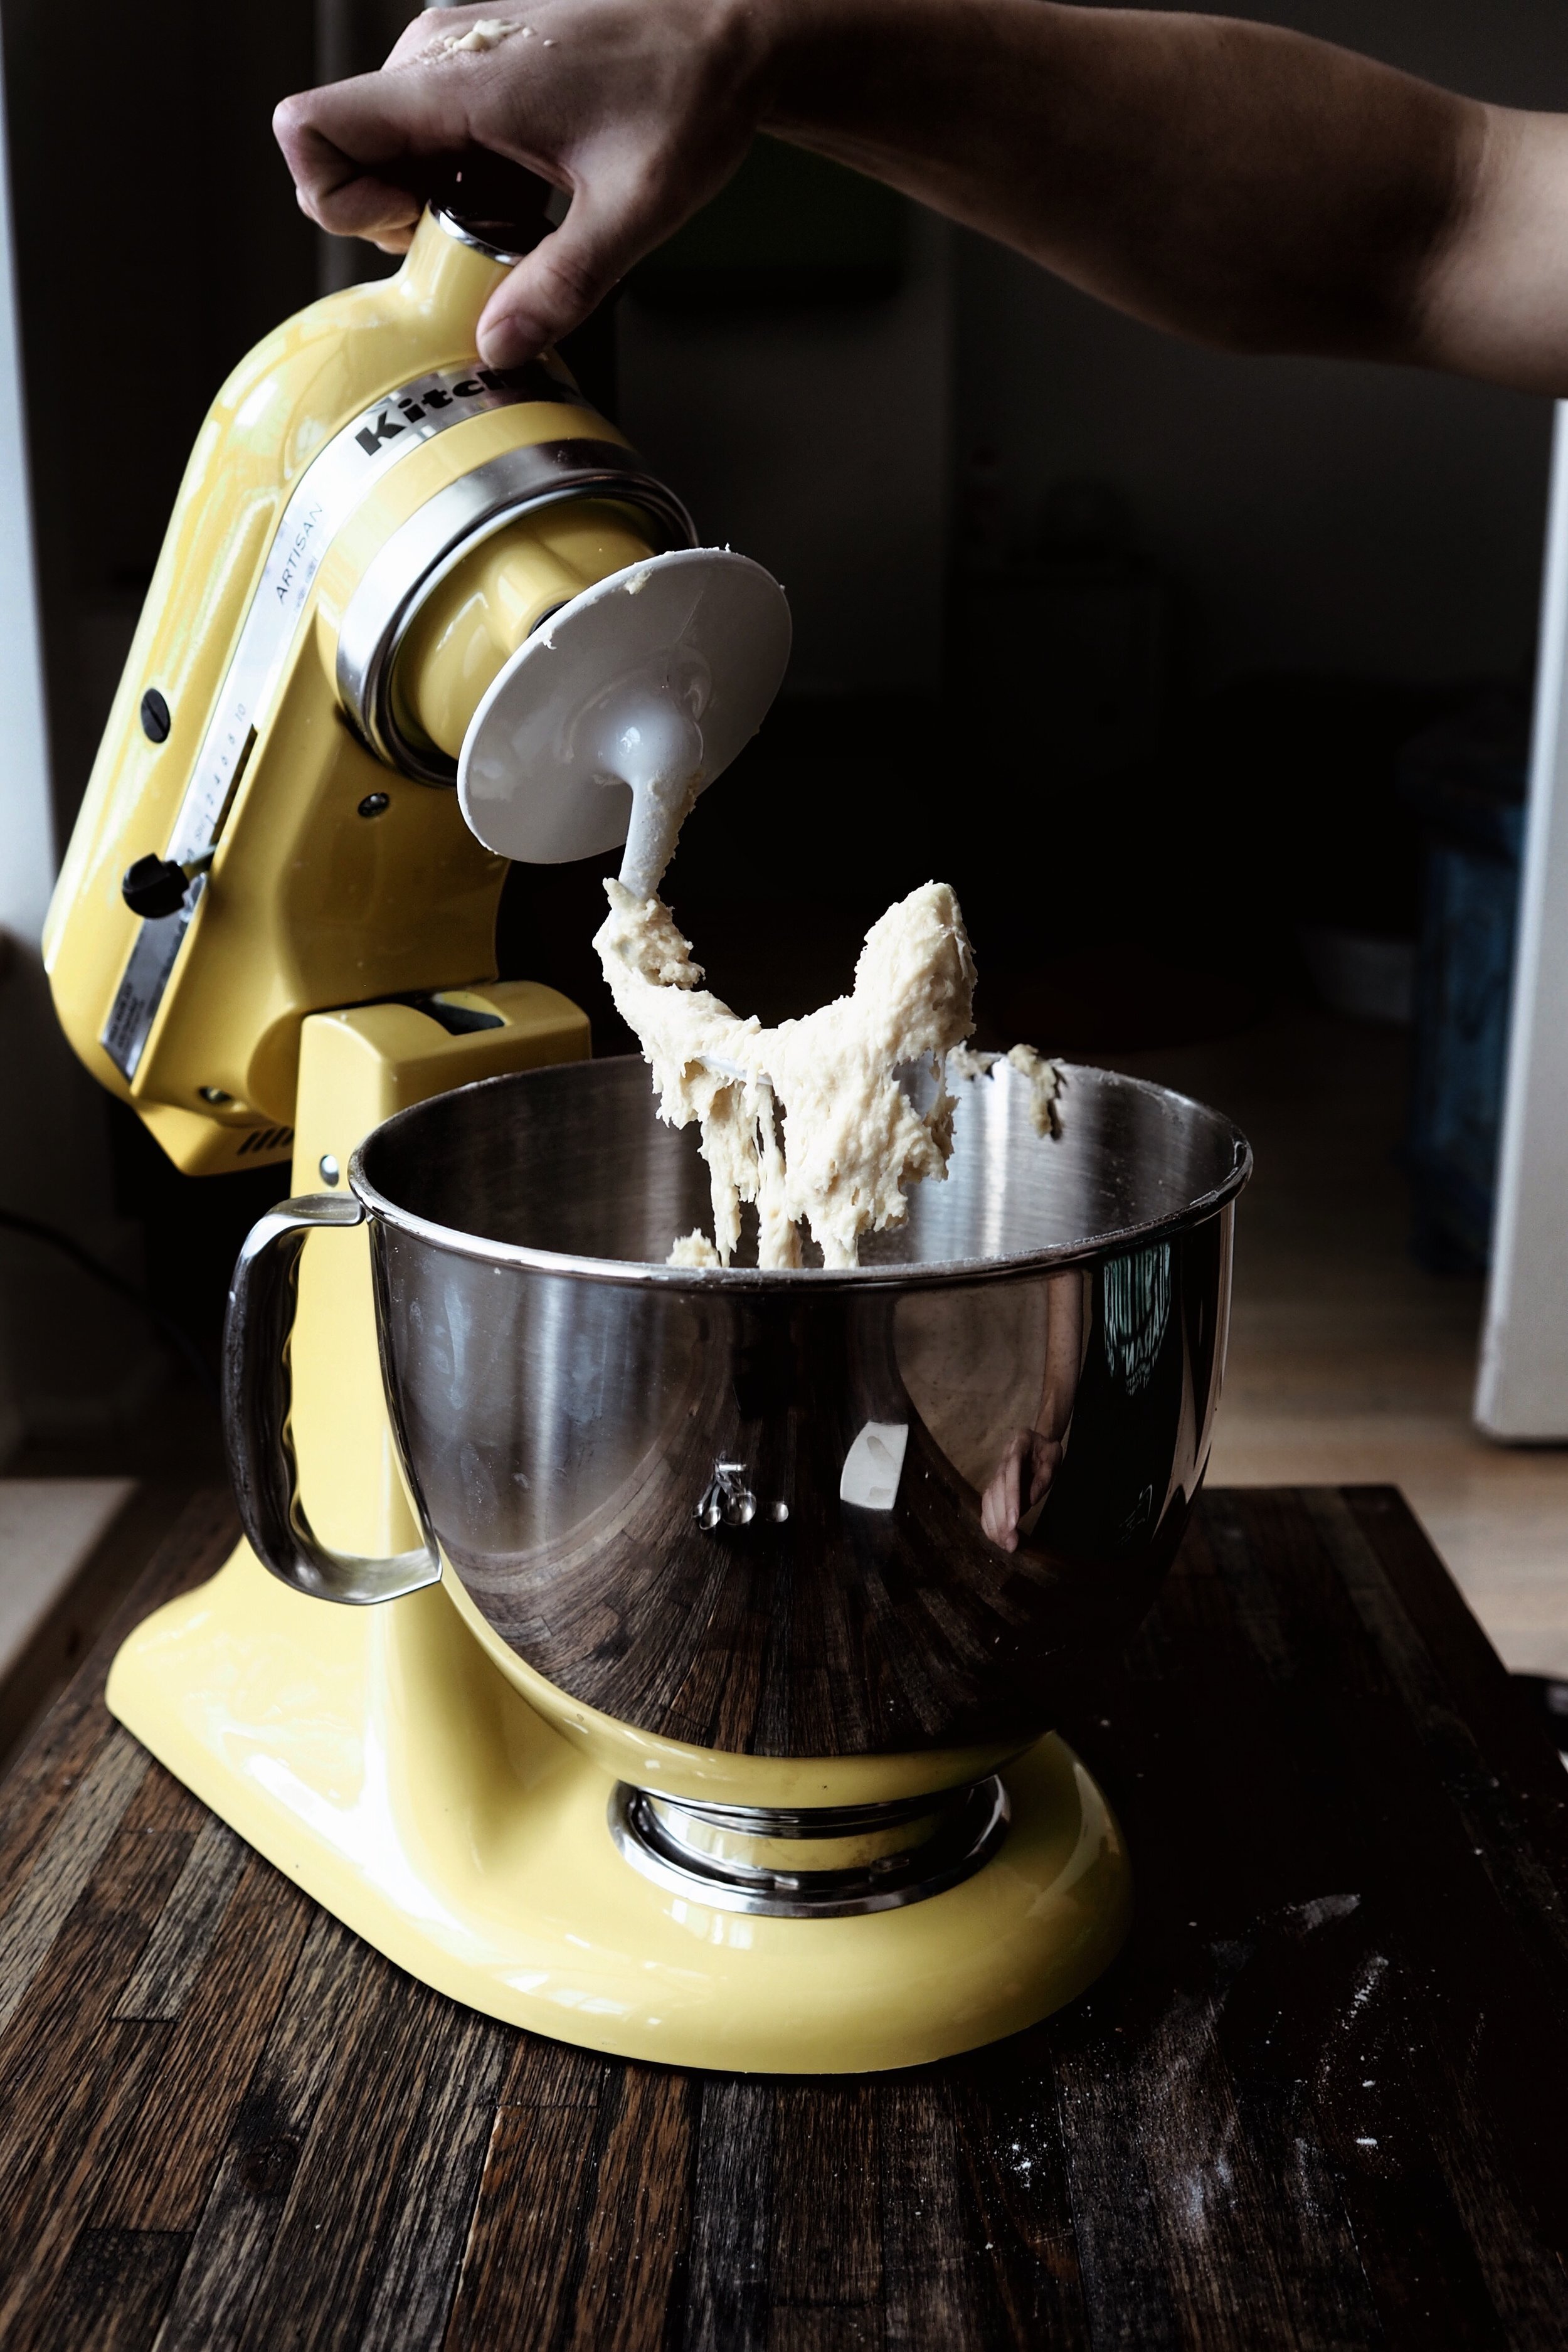
It bears mentioning that, regardless of what recipe you choose to follow, you will need to tweak flour ratios on the fly. All of our initial attempts to mix the dough resulted in a wet, unworkable mess; this can be fixed with the gradual addition of flour until the dough can retain a ball-like shape. This is a crucial step that I wish all challah recipes stated up-front. It's also because of this that we also highly recommend the use of a stand mixer to help you develop the dough's gluten structure. The addition of oil and egg to the dough makes it necessary to oil your worktable to prevent catastrophic dough adhesion in those early stages: not a pleasurable experience.
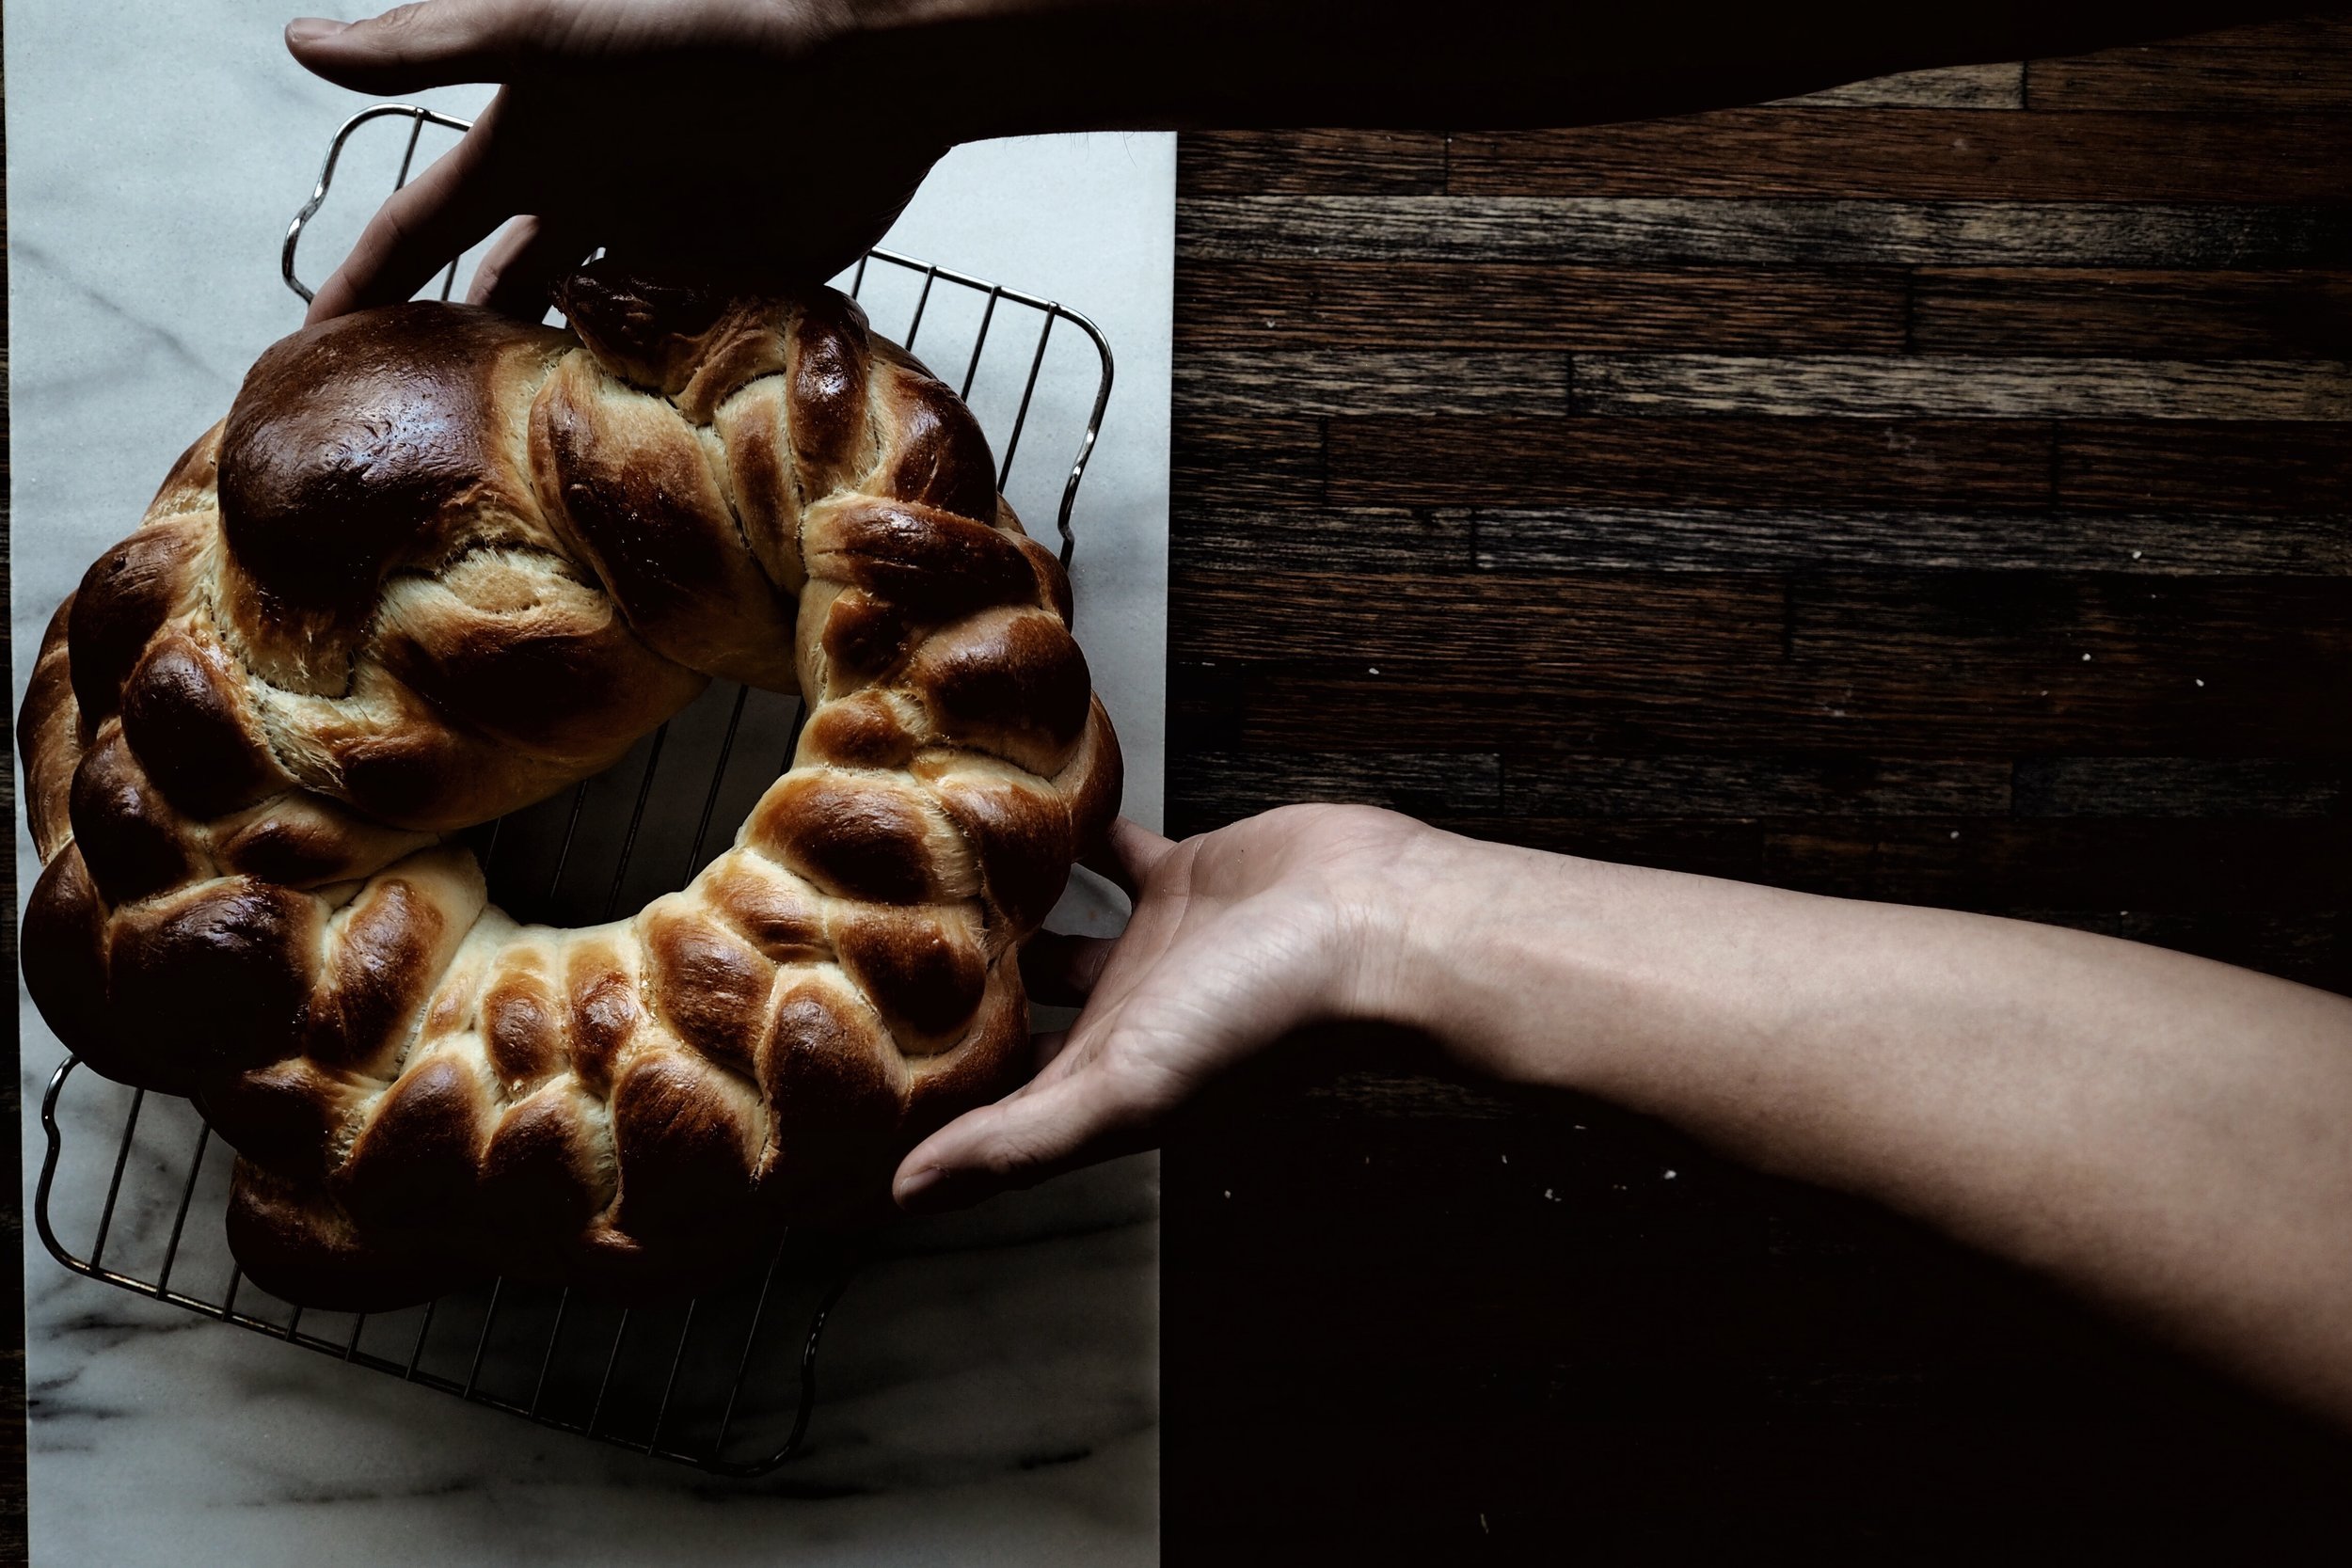
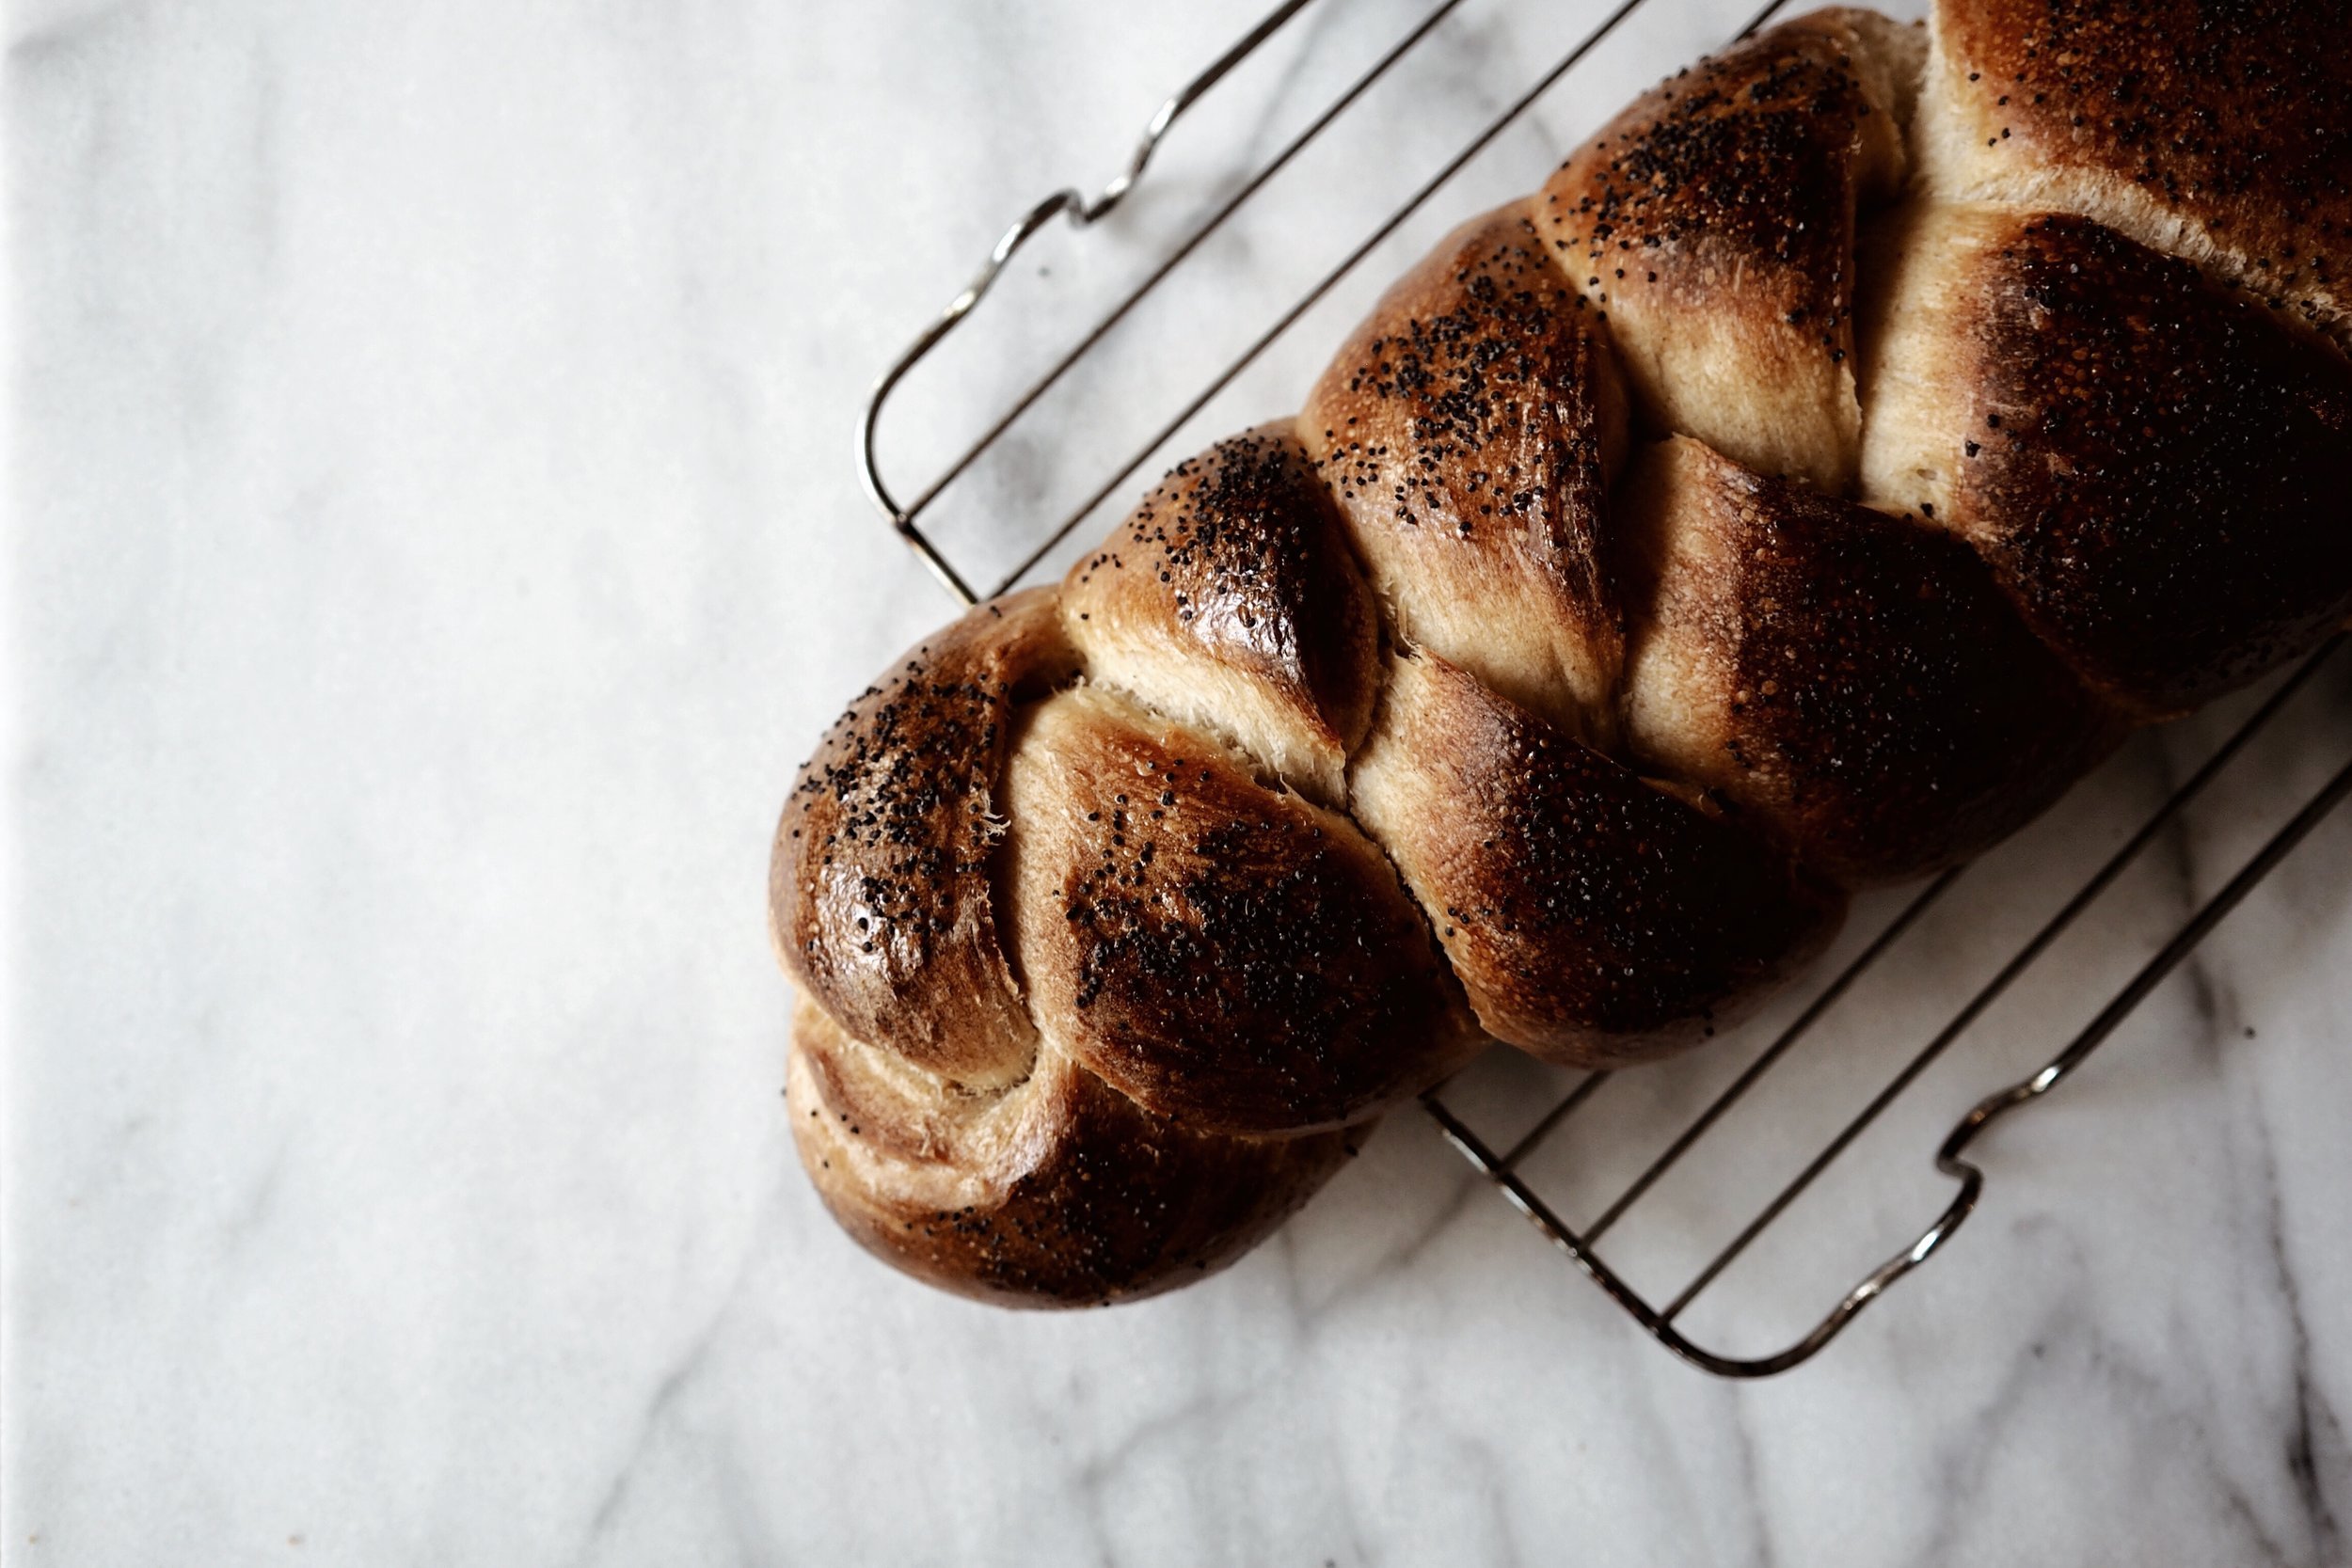
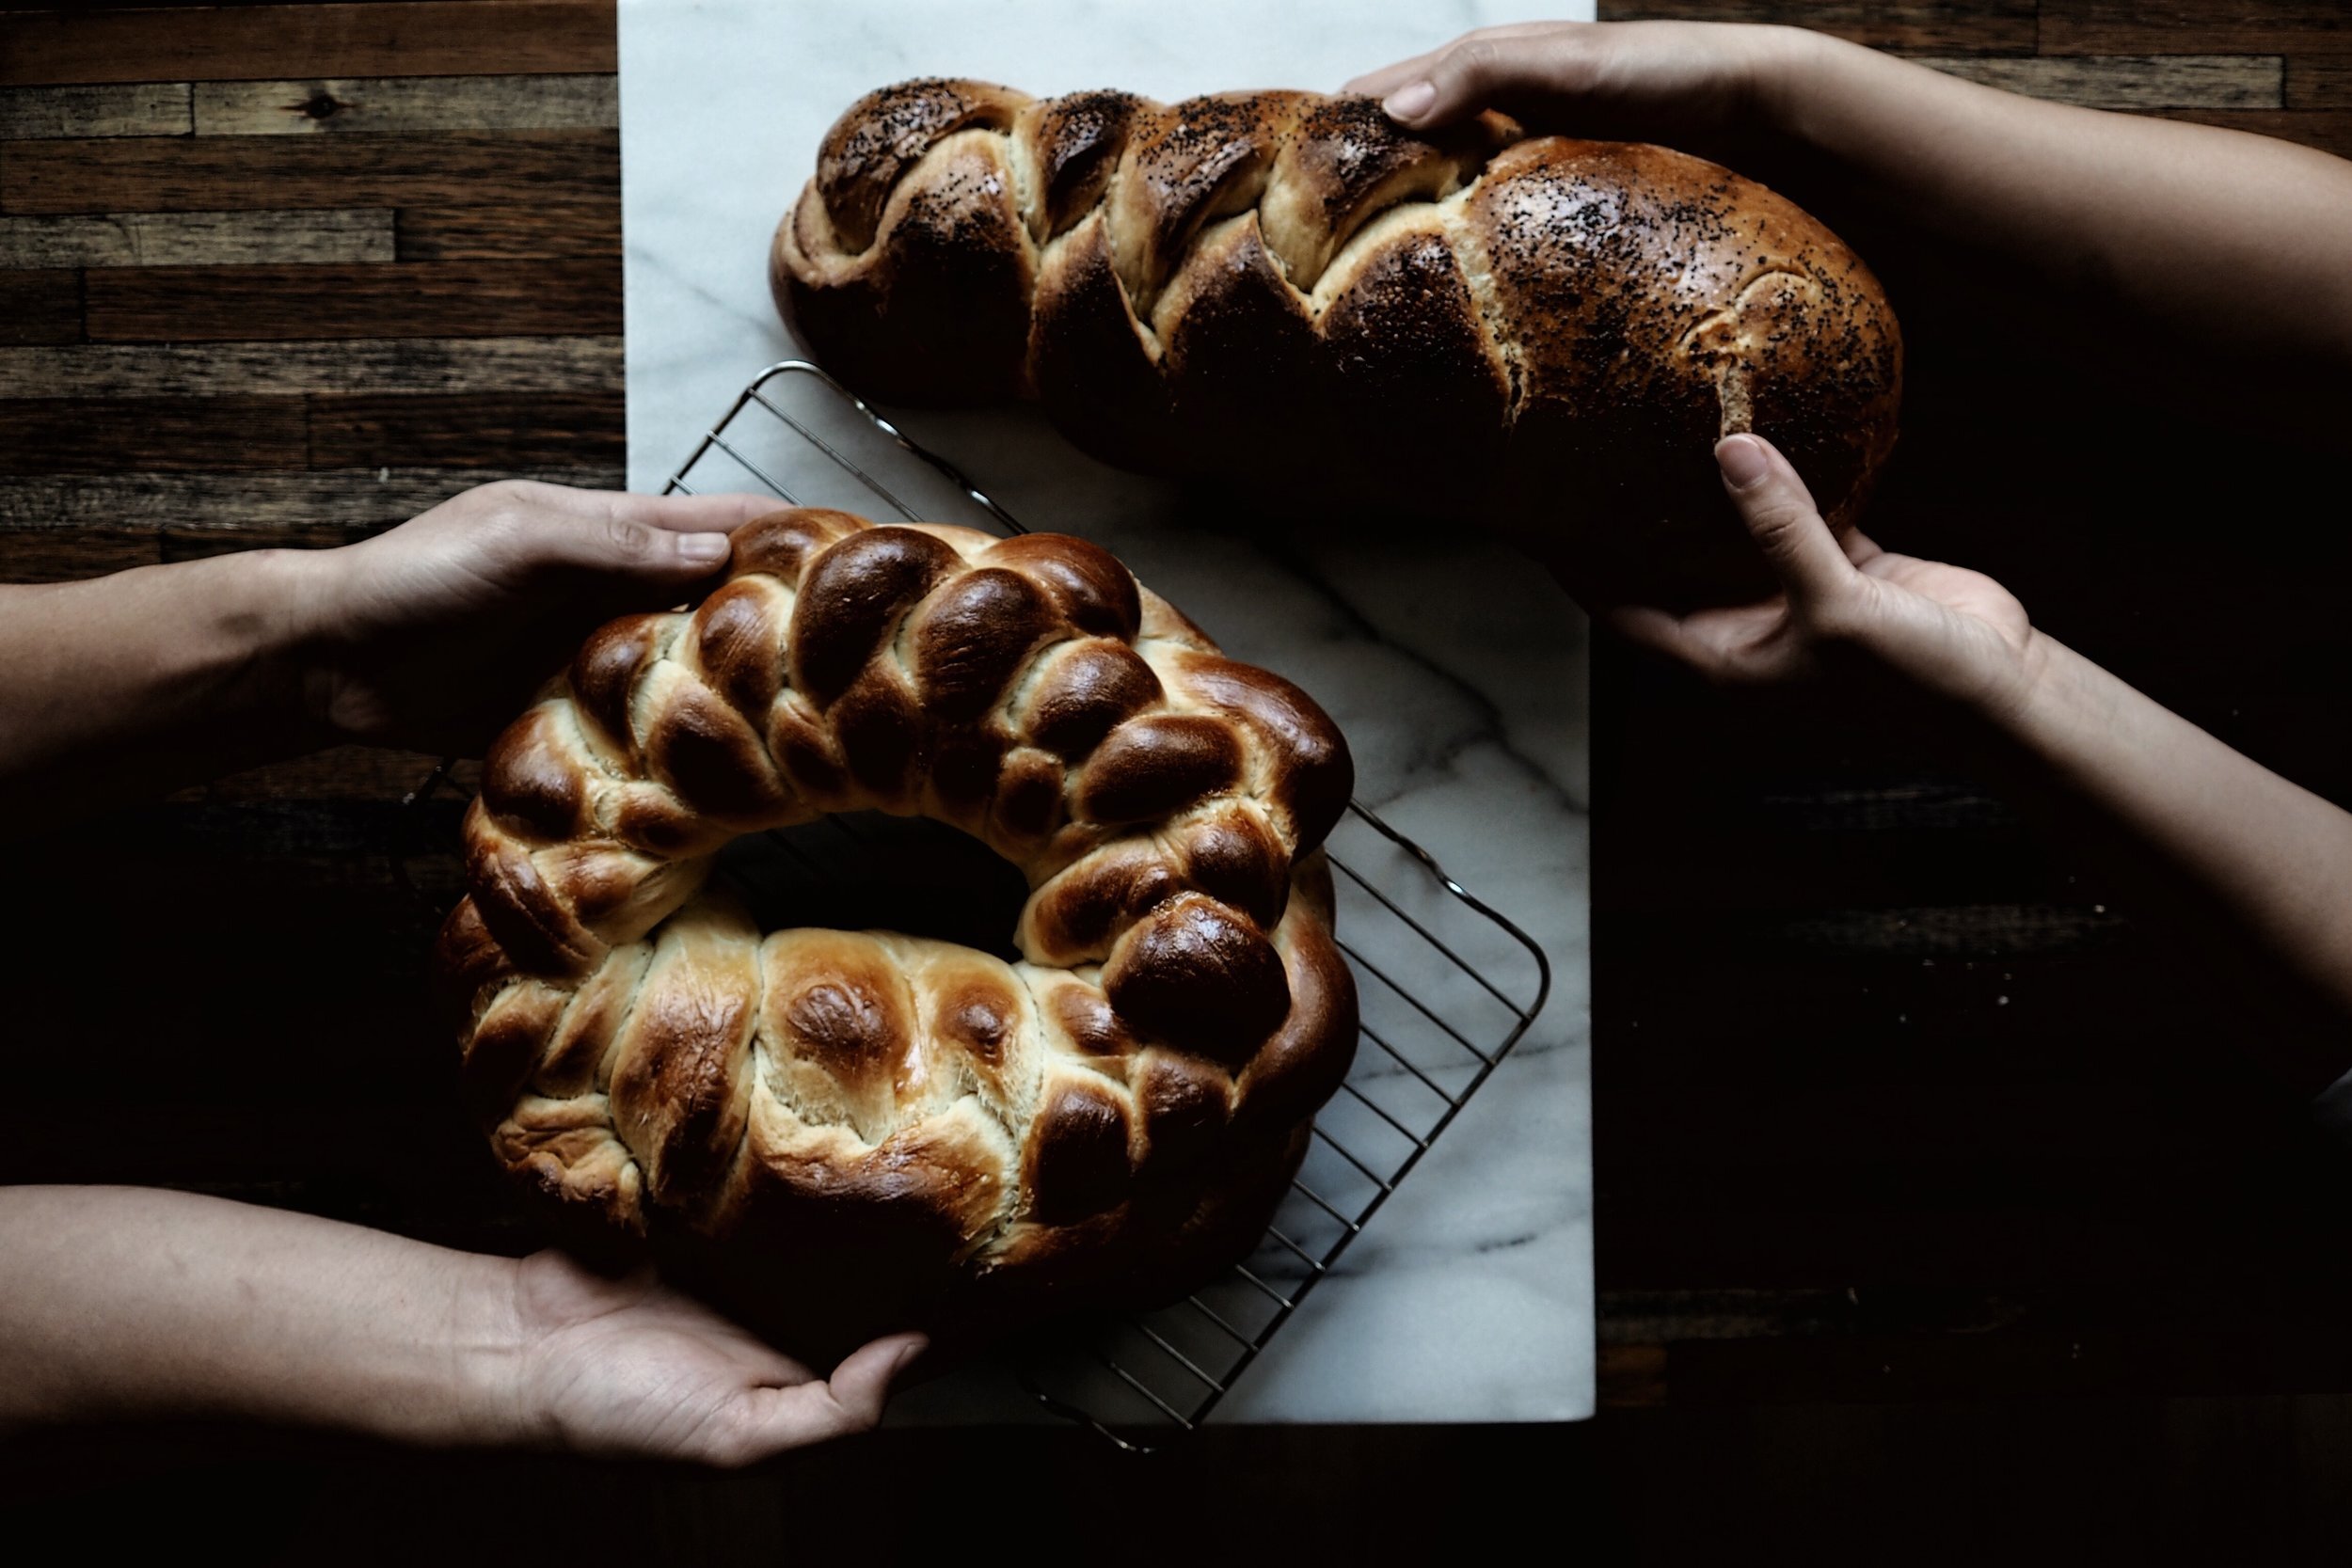
Finally, there's braiding. Though not strictly necessary, braiding sets challah apart visually from other breads. I opted for a simple three-braid (left over one, right over one, repeat) for fear of working out any hard-earned air pockets during the sourdough proofing. We felt comfortable attempting a more intricate six-braid for the yeasted version, then turned it into a round loaf. In hindsight, both braids could have been started in the middle, then turned around and repeated to ensure that each end was evenly knotted. Next time!
Tasting and Judgement
The resulting loaves were an exercise in contrast.
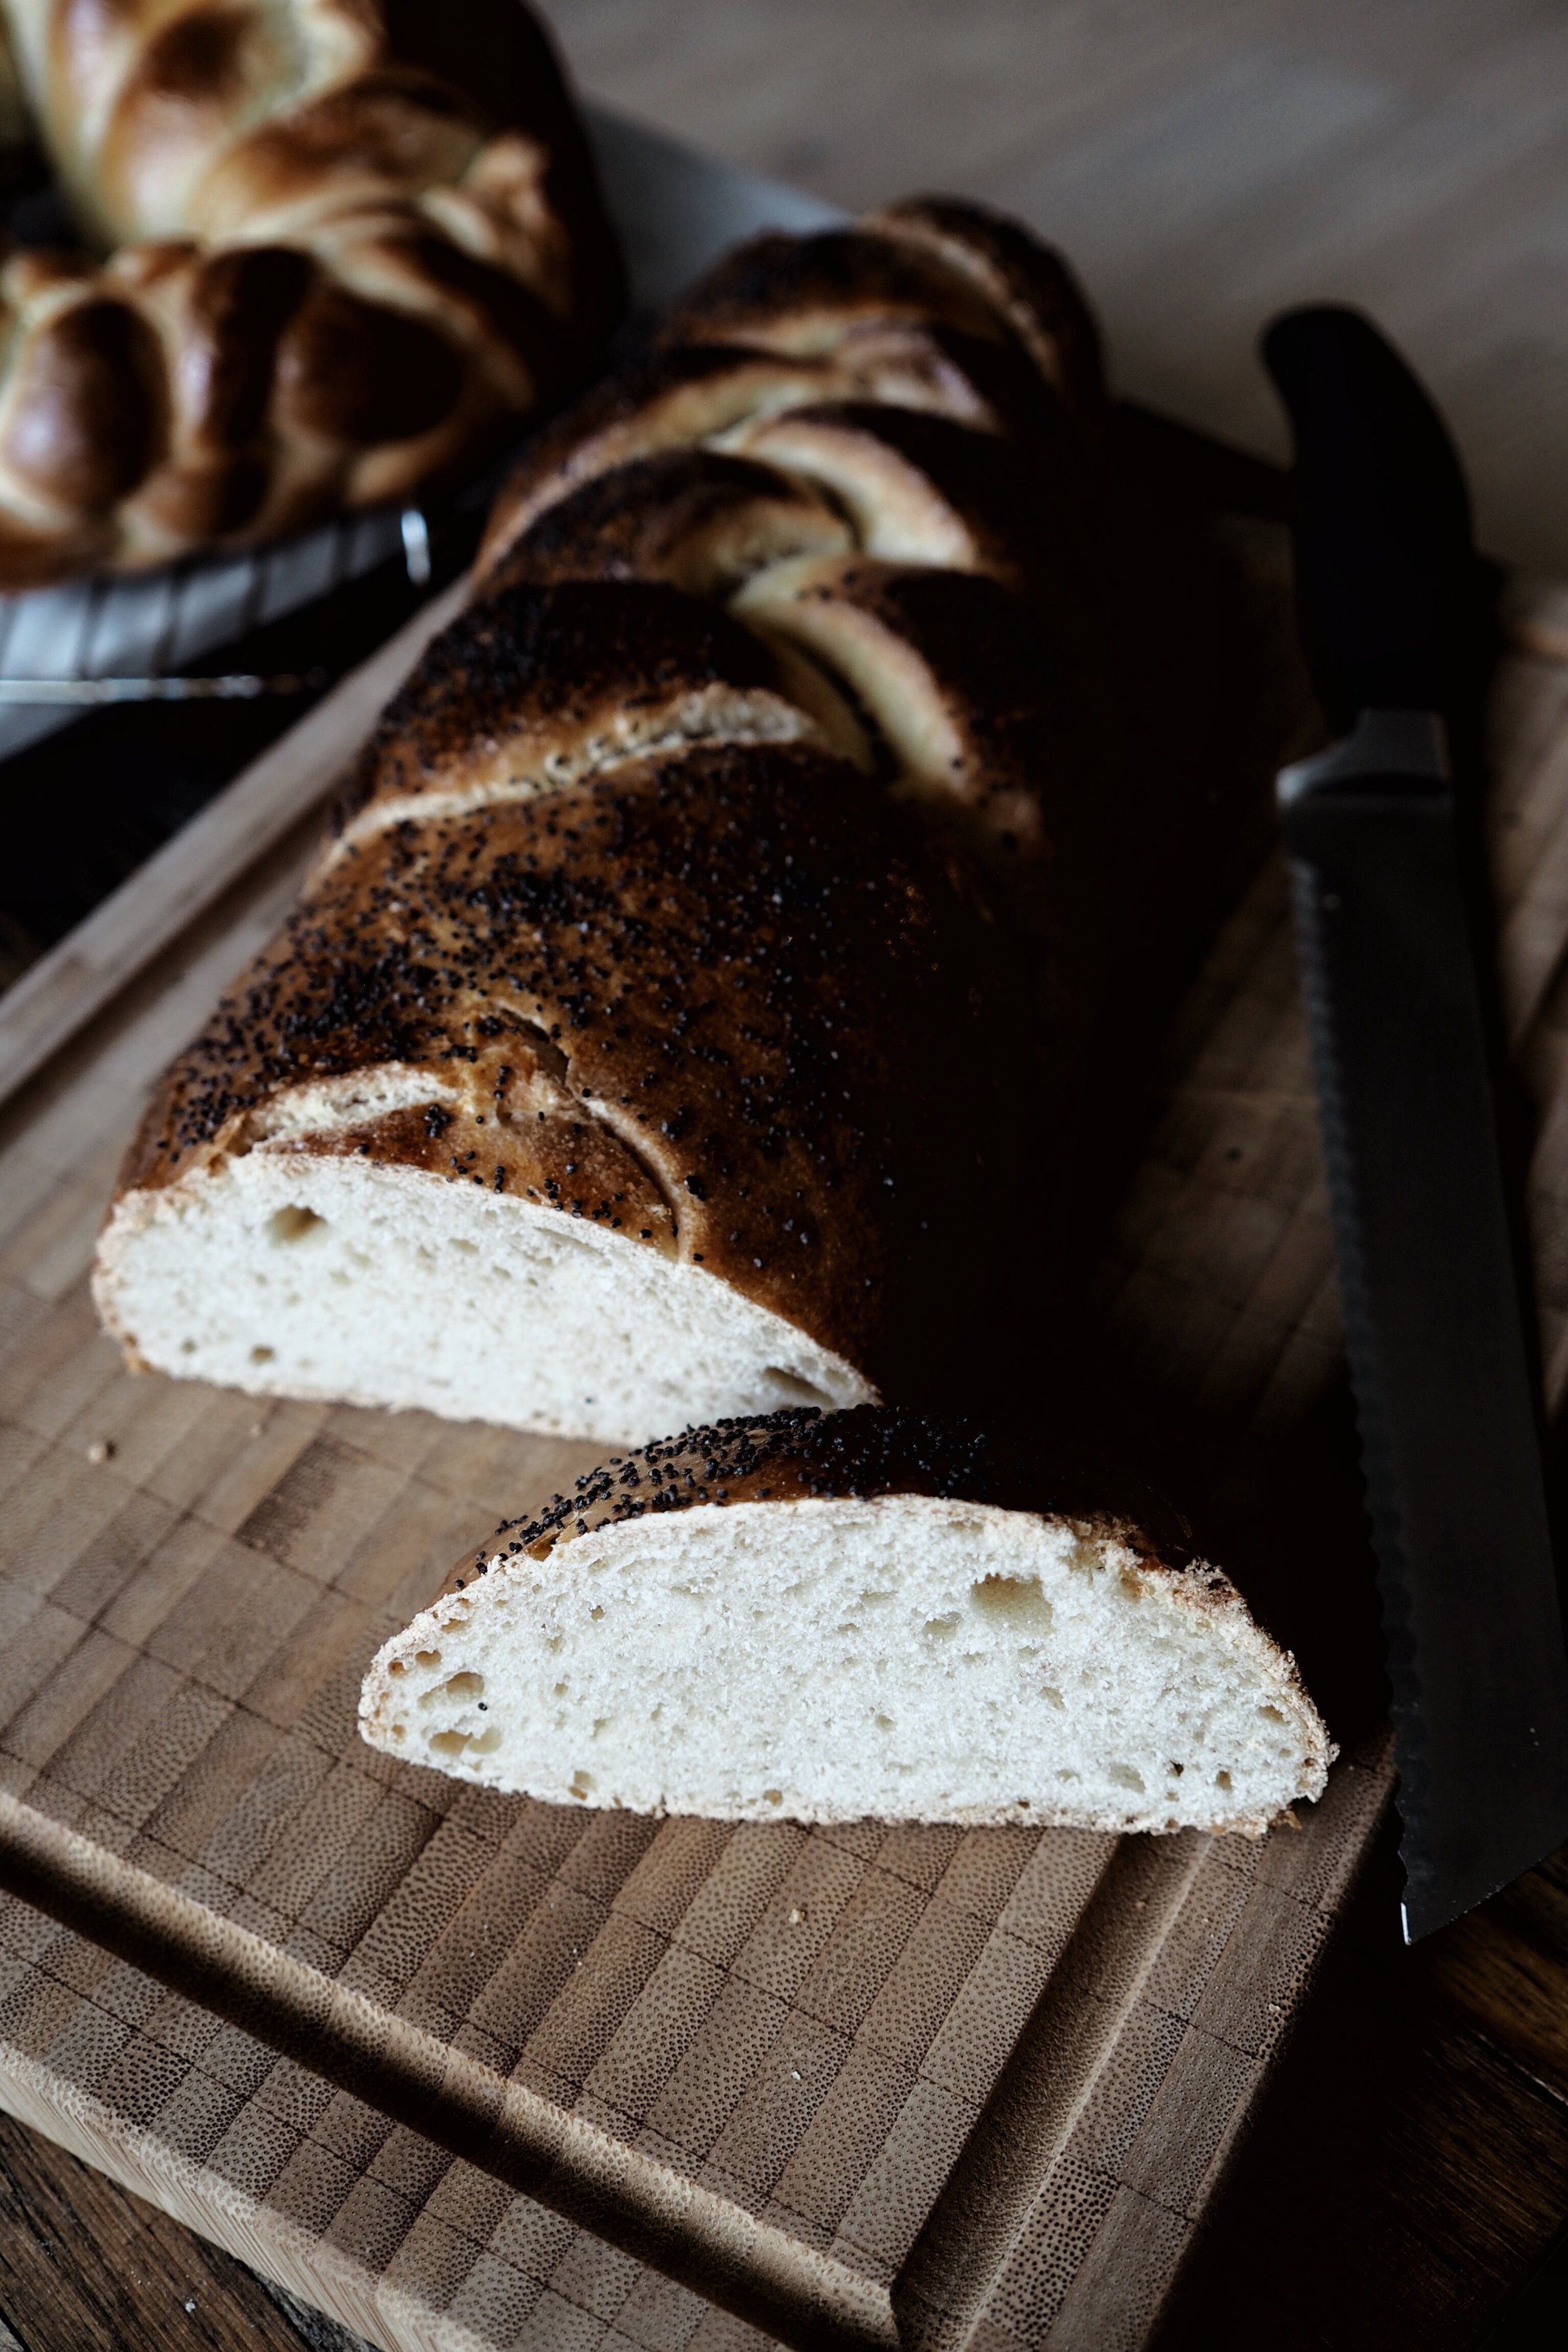
Abhi's yeasted recipe is exactly as you would expect a challah to be: soft, rich, and easily torn by hand. The sourdough recipe yielded a much denser crumb; not bad, just different. While the yeasted version begs to be used in sweet dishes, the sourdough version boasted a more complex - yet, faintly sour - flavour that would lend itself well to savoury applications. Both tasted wonderful with butter and jam; they also made some of the best grilled cheese sandwiches we've had in quite some time.
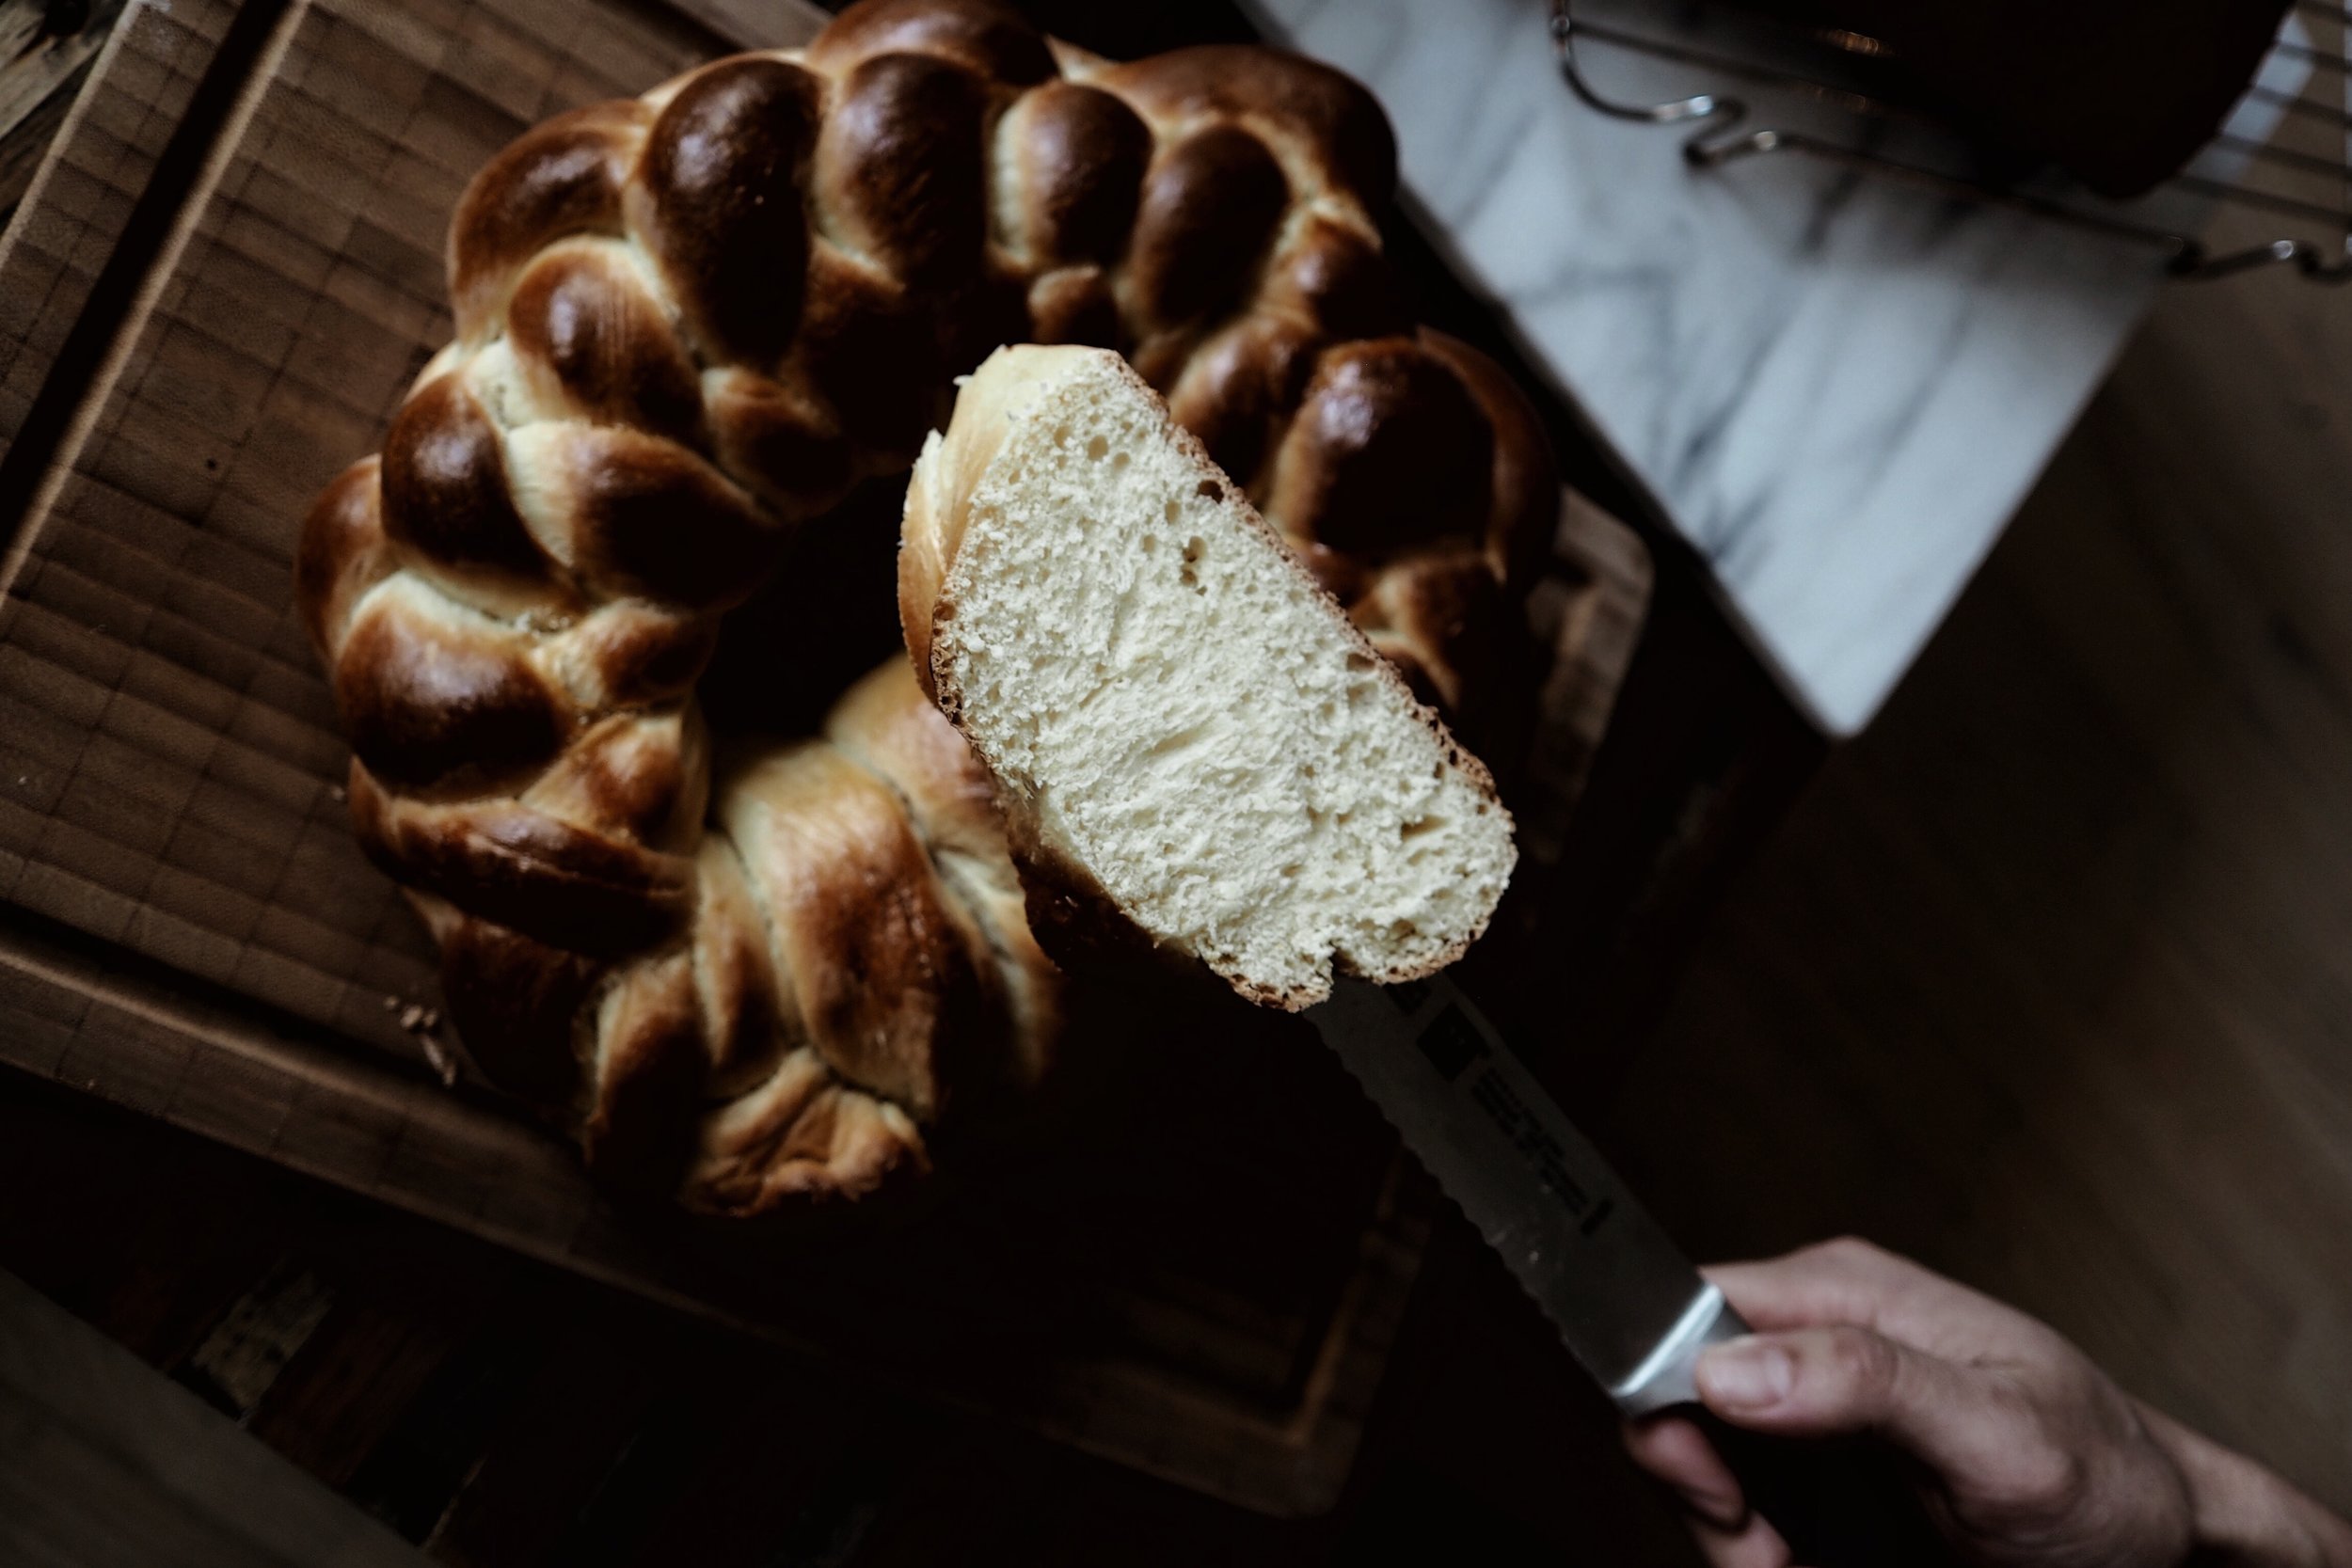
Then comes the baker's curse: neither loaf was what we could declare 'perfect' - just darn good. How far could we enrich the yeasted loaf to attain a deeper colour and sweeter character? We think experimenting with the addition of more egg yolks and a touch more sugar could bring it to the right place.
For the sourdough version, the challenge is two-fold. How to attain a fluffy structure, and how to do it in less time? As it stands, the recipe takes a full 24 hours to complete, as opposed to the 4 hours with commercial yeast. One surefire way to achieve this would be to use a combination of sourdough and baker's starter; it theoretically could result in a loaf both well-risen and complex. Using sourdough alone, I think that adjusting the kneading times, as well as the proofing temperature could result in a fluffier loaf.
Recipe
Sourdough Challah Bread
Makes one large challah loaf.
Ingredients:
Levain:
- 40g sourdough starter (60% hydration)
- 100g white, unbleached flour
- 60g water, room temperature
Dough:
- 75g water
- 421g white, unbleached, flour
- 1 1/2 tsp salt
- 65g white sugar
- 50g neutral vegetable oil (we used grapeseed)
- 2 large eggs, 1 egg white (reserve egg yolk for brushing)
- Poppy seeds, sesame seeds, or rock sugar for dusting (optional)
The Payoff:
- The night before baking, mix levain ingredients together in a clean container, loosely cover, and set in a warm, dark environment for 4-8 hours, or until the starter is bubbly and active.
- The next day, mix active levain, oil, eggs, and water in a large mixing bowl. In another bowl, mix flour, salt, and sugar together and form a small well in the middle. Add wet ingredients.
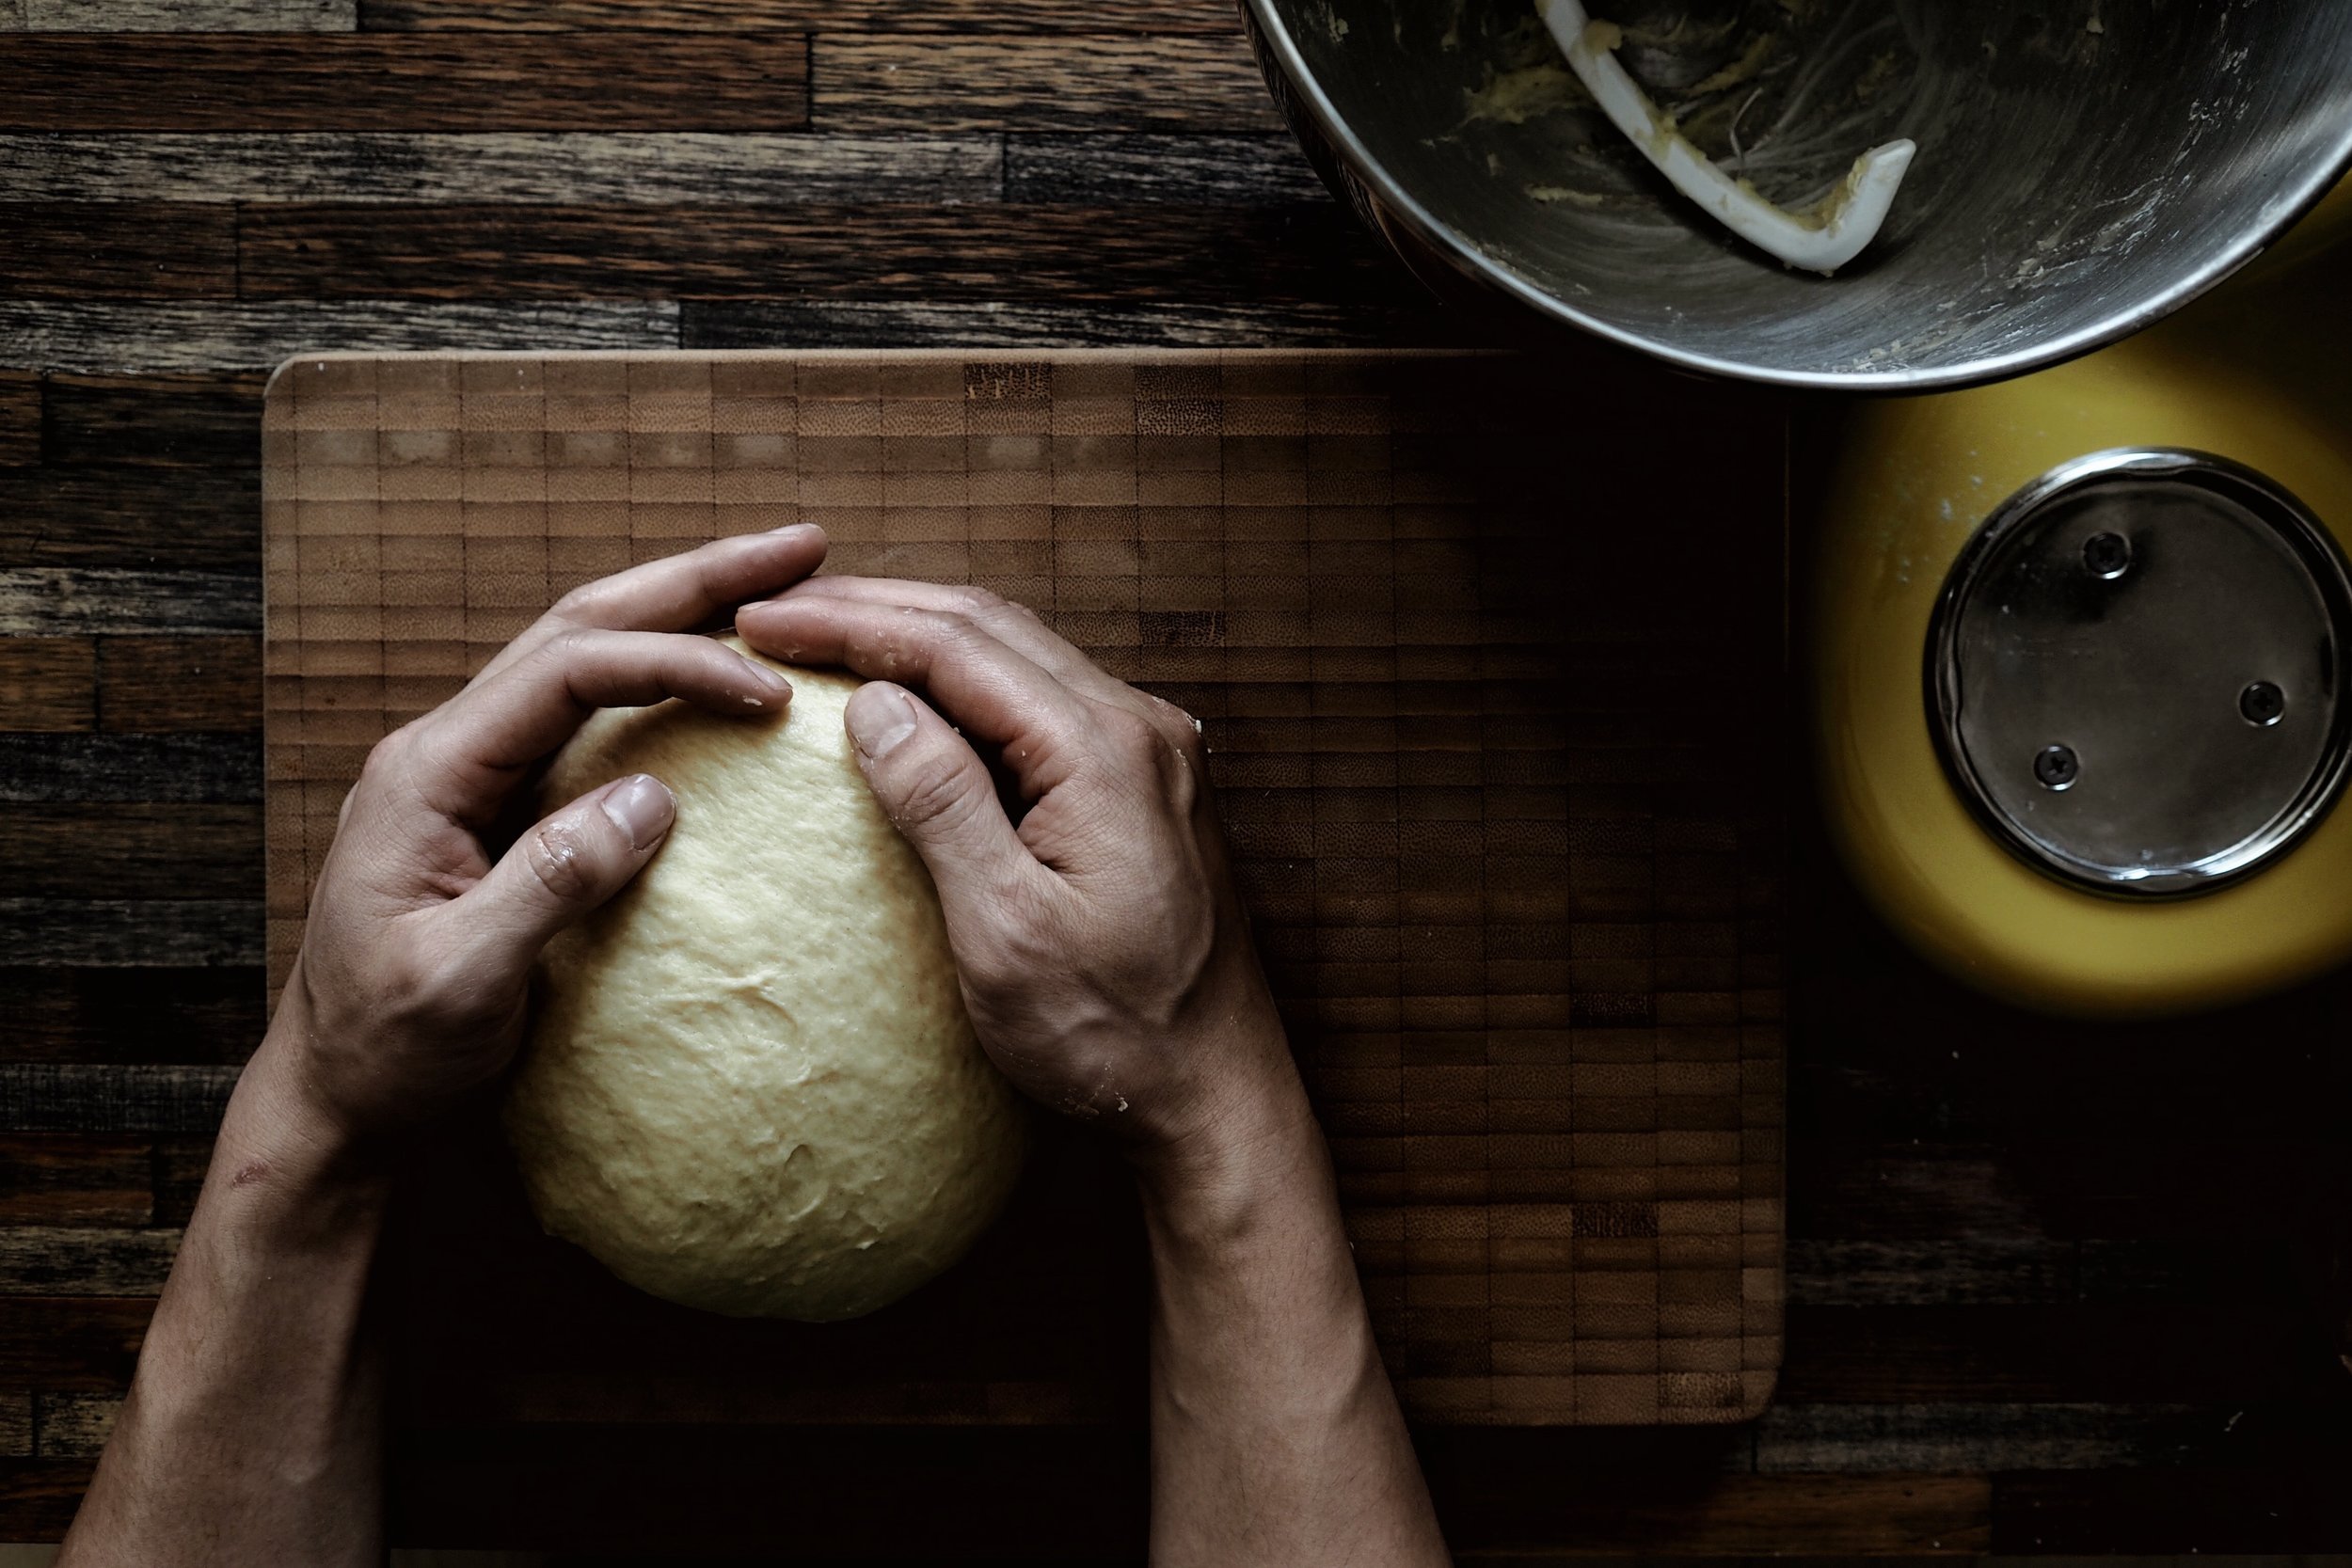
- Combine ingredients in a stand mixer with dough hook on low until combined, then bring speed up to knead for 10 minutes, occasionally scraping down sides of bowl. The dough should be able to come together to form a smooth ball of dough; add flour a teaspoon at a time until it comes together.
- Turn out dough onto lightly oiled work surface. Shape into a tight ball, working with hands and bench scrape until surface tension has built on the top of the dough ball.
- Transfer to a lightly oiled mixing bowl for proofing. Cover bowl tightly with plastic wrap and proof in warm, dark place for 8-12 hours, until the dough has at least doubled in size. Our loaf took 12 hours with an ambient temperature of 22C (72F), which we suspect is far too cold. Aim for 25.5C (78F).
- On an oiled work surface, turn out the proofed dough and cut into enough even pieces of dough for your desired braid (for a three-braid, divide into 3 pieces). Carefully roll out dough into long ropes of dough and braid. Transfer to a baking tray lined with parchment paper or silicone baking pad, cover with a clean kitchen towel, and proof for an additional hour.
- Preheat oven to 375F.
- Brush egg yolk and toppings onto bread. Bake in oven for 30-40 minutes, turning once, until the crust is a deep brown colour.
- Let bread rest on a wire cooling rack for at least an hour before cutting.
Words by Nicholas Wong. Photos by Abhishek Dekate.